Part 3 – The art & craft of planning your perfect greenhouse
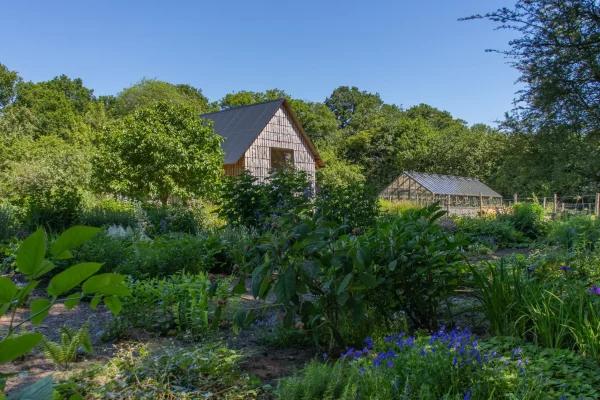
Above: A bespoke custom-colour Victorian three-quarter span greenhouse at Perch Hill, Sarah Raven’s Cutting Garden
In the previous issues we talked about the synonymity between traditional style (especially Victorian style) greenhouses and the low base wall they typically sit on. For many, this forms an essential part of the aesthetic as well as opening up a host of advantages you don’t get with a simple glass-to-ground style greenhouse. For others, however, it can present a daunting extra layer of complexity that, perhaps, doesn’t seem worth it.
In this post, we hope, by sharing some of our experiences of site preparation, we can reassure you that the process is easy and the results are definitely worth it. We’ll cover:
Foundations, drainage and utilities
Walls
Internal floor
Surrounding landscaping
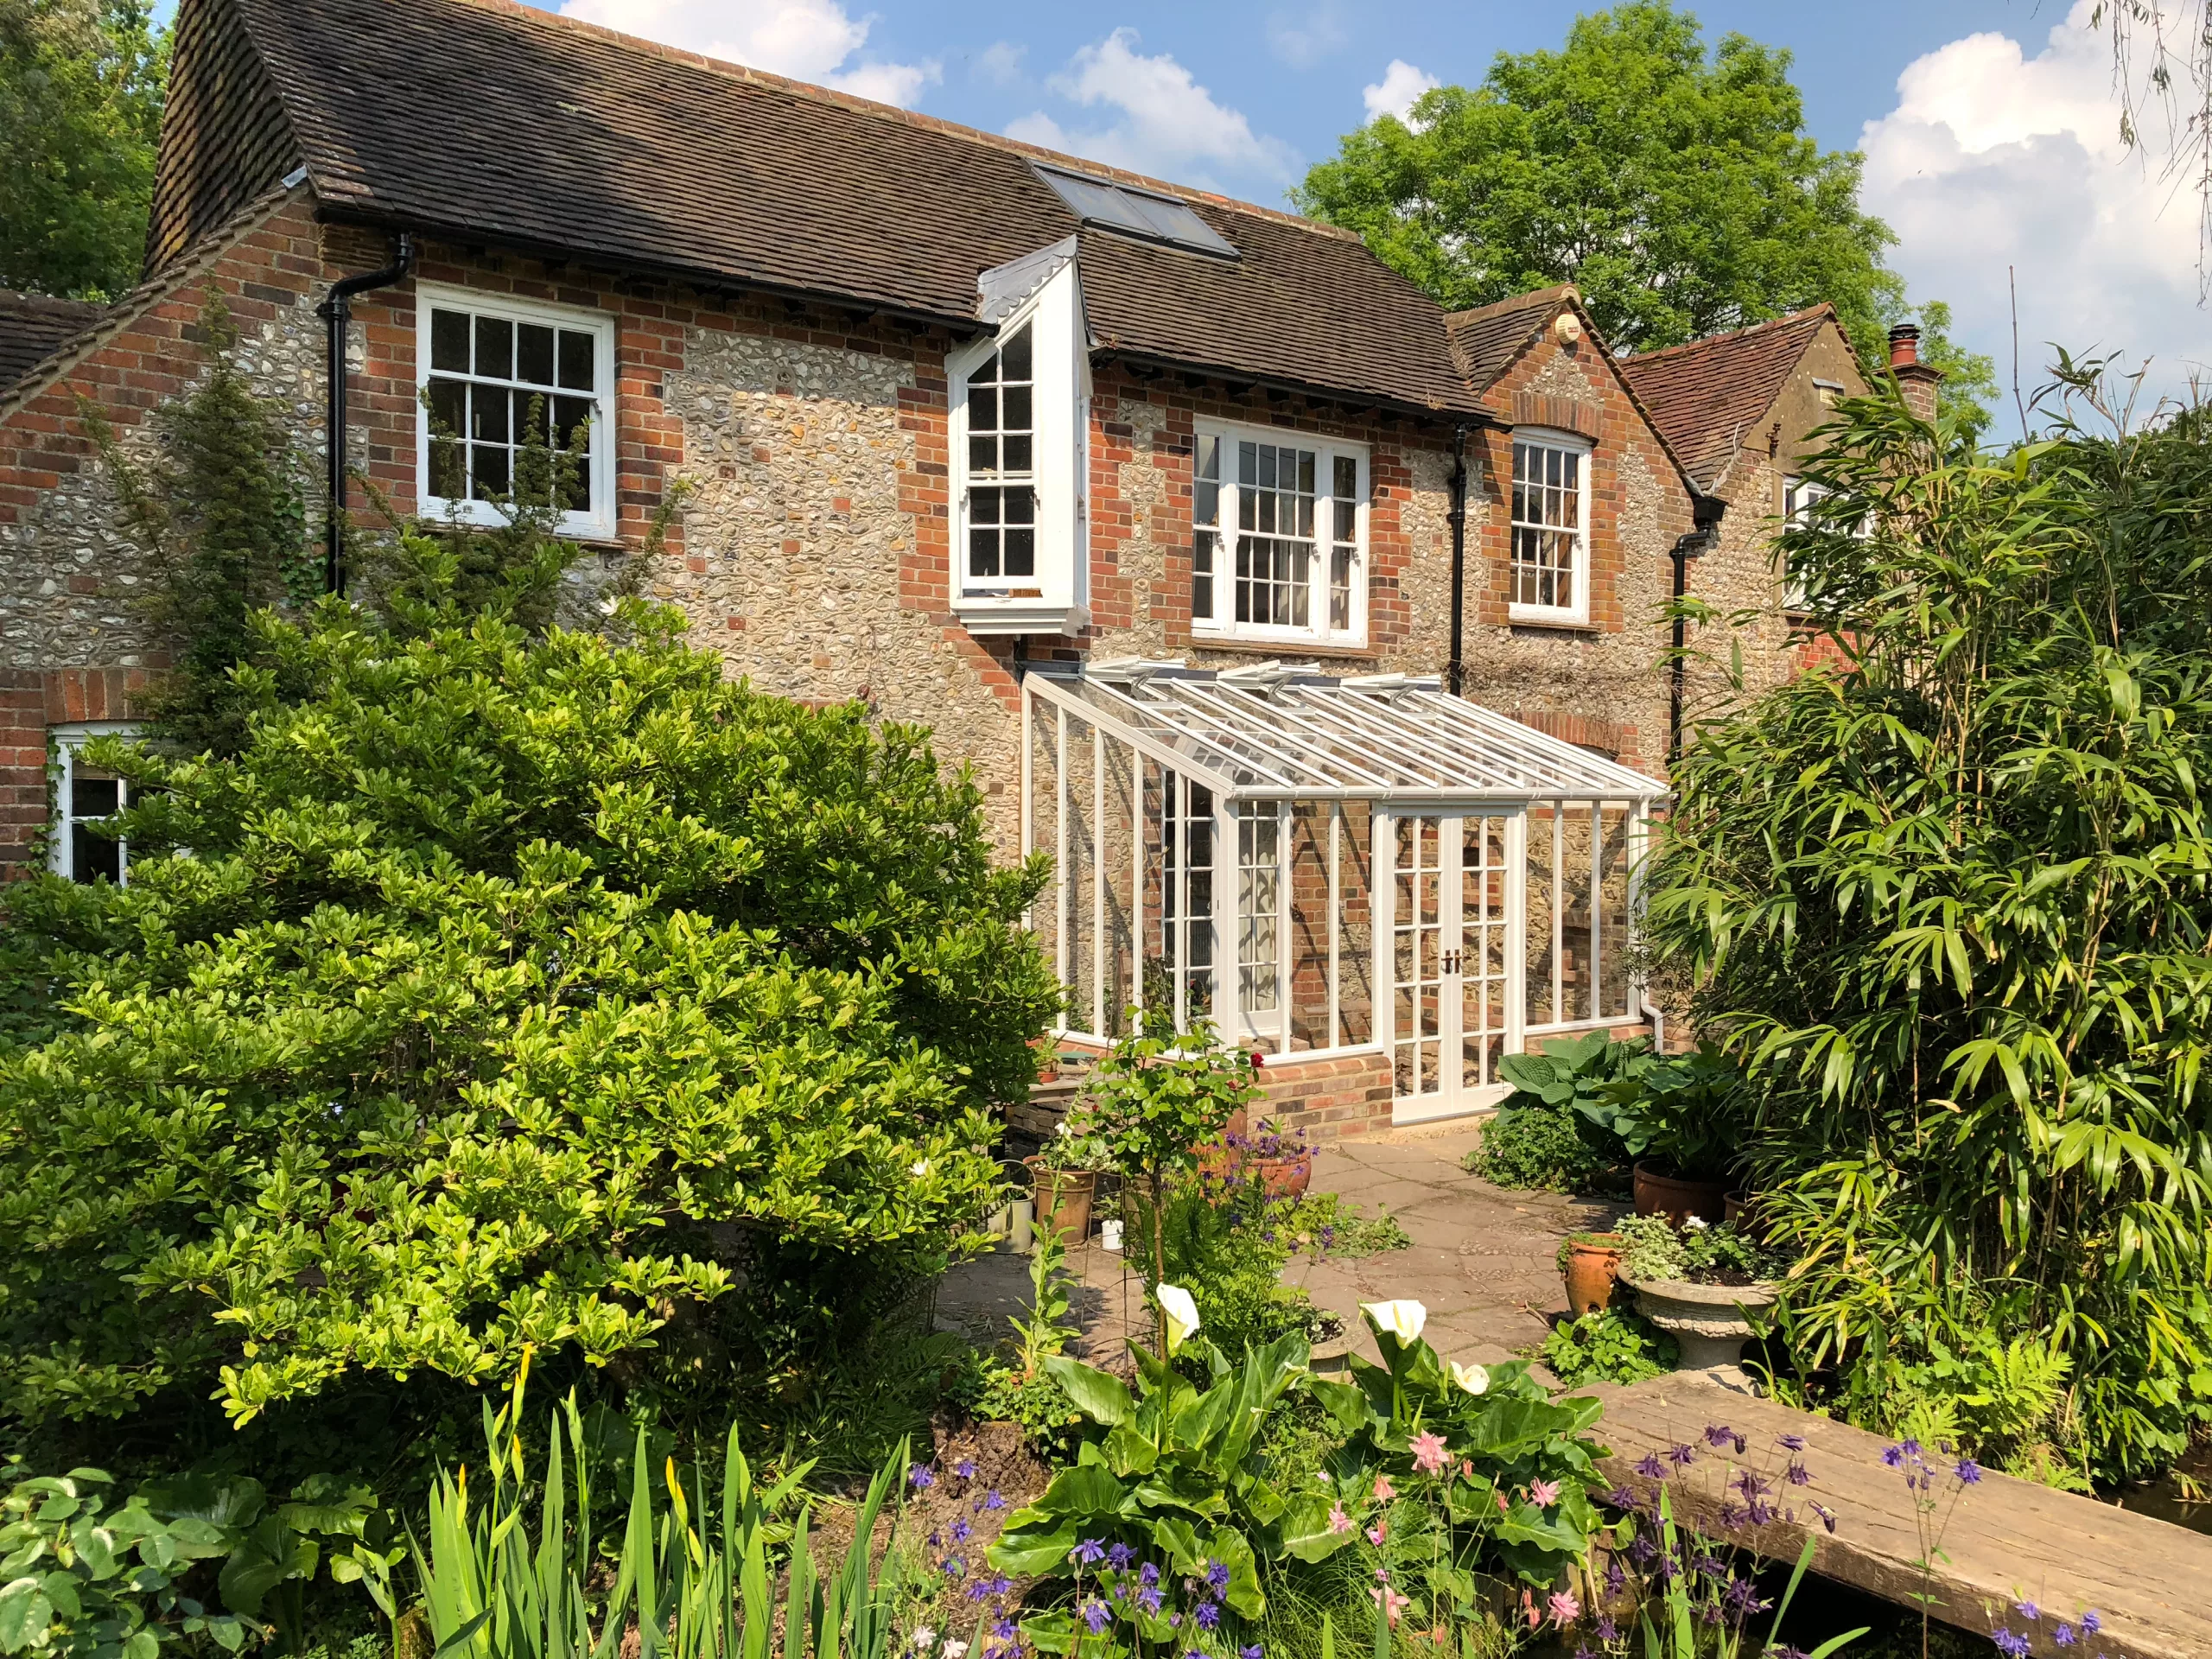
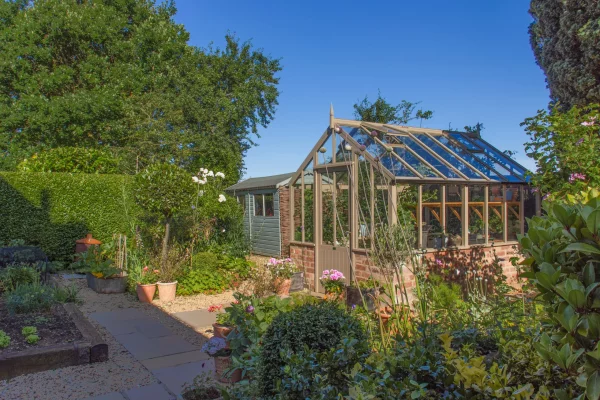
Left: a bespoke Edwardian mono-pitch greenhouse sat on a low wall with feature double doors in the side. Right: a more “typical” Edwardian mono-pitch sat on 9 courses of brick.
All our greenhouses require a base wall of some description. It can be as low as 2-3 courses of brick but to achieve the proportions typical of the Victorian and Edwardian periods, you’ll need about 10 courses. Whether you are buying one of our Signature buildings or you’ve gone down the bespoke route (and assuming you aren’t replacing an existing greenhouse), we will provide a base plan which tells your builder the critical dimensions they need to work to, and our guidance notes include some further important information to be aware of, but there’s still a range of decisions to make which are entirely up to you:
Foundations
Our greenhouses are relatively light in structural terms, so a simple strip foundation is perfectly adequate. Laying a concrete pad is also a straightforward solution, especially if you intend to have a solid floor throughout the greenhouse. The condition of the ground where you intend to site the greenhouse, and whether you plan to landscape the area around it may also influence your choice of foundation and allow your builder or landscaper to have some input too. They are likely to understand the ground in your area and have useful experience too.
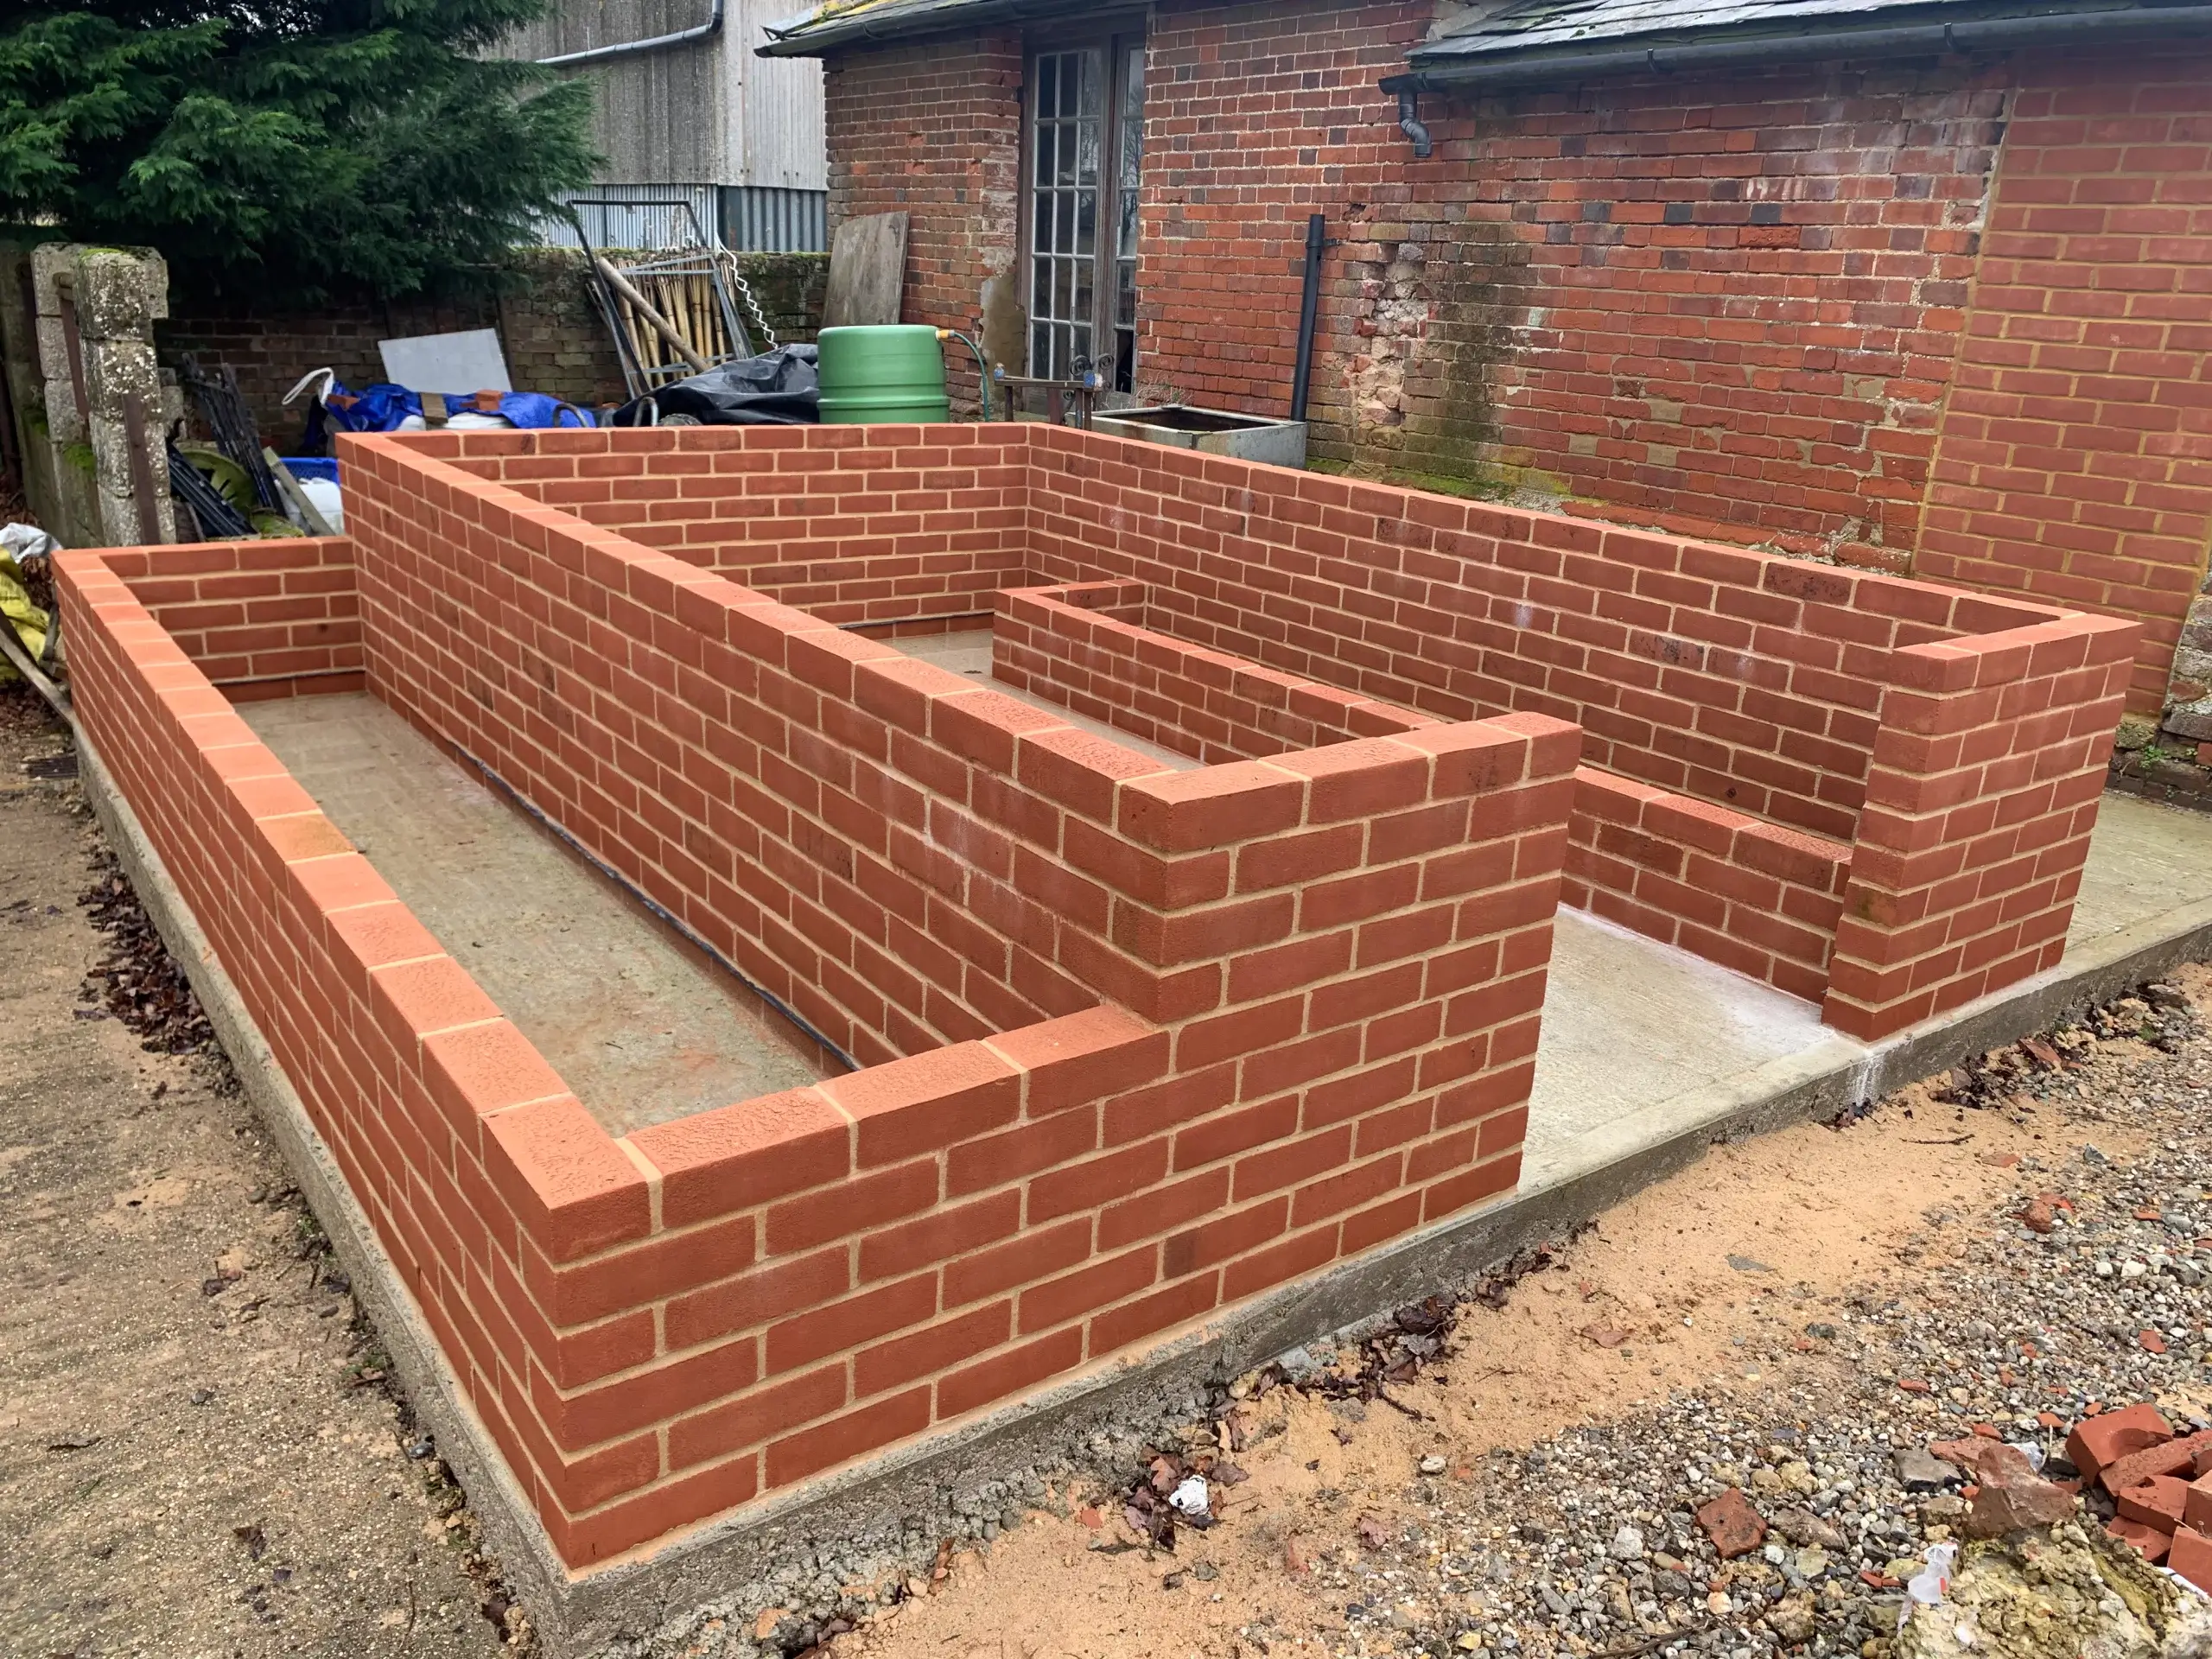
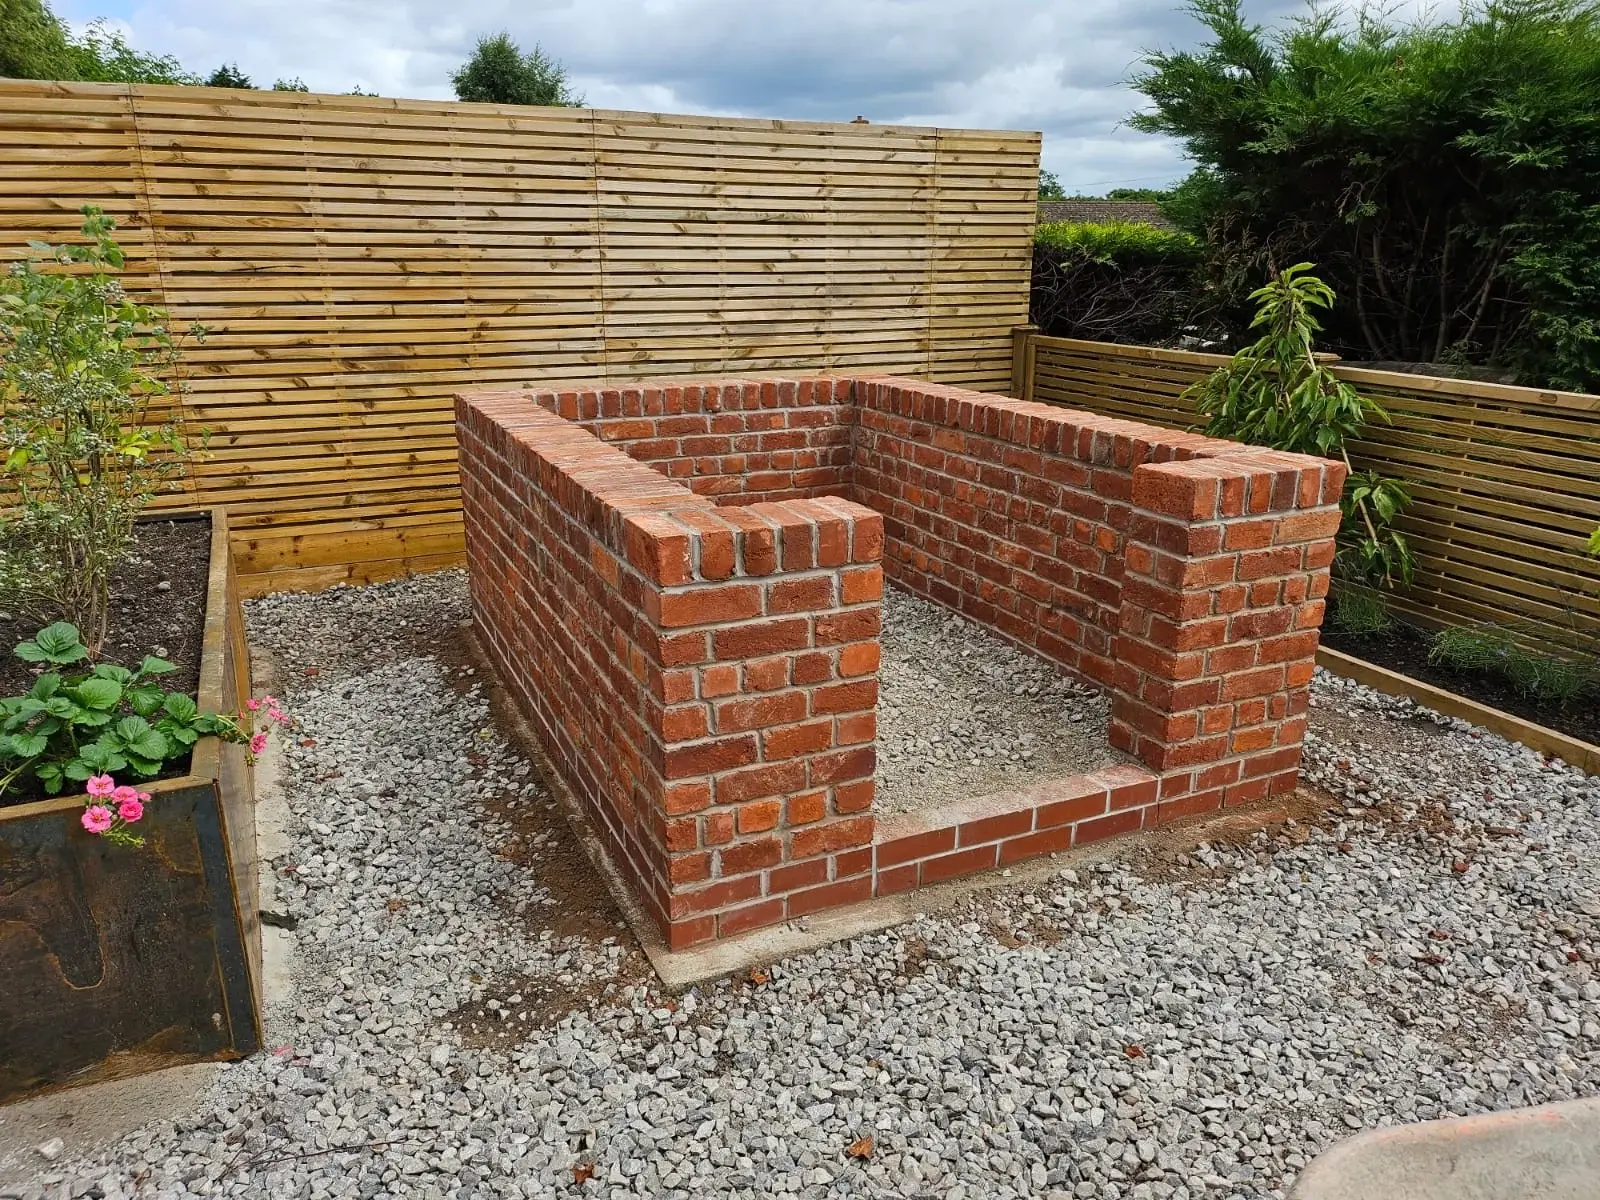
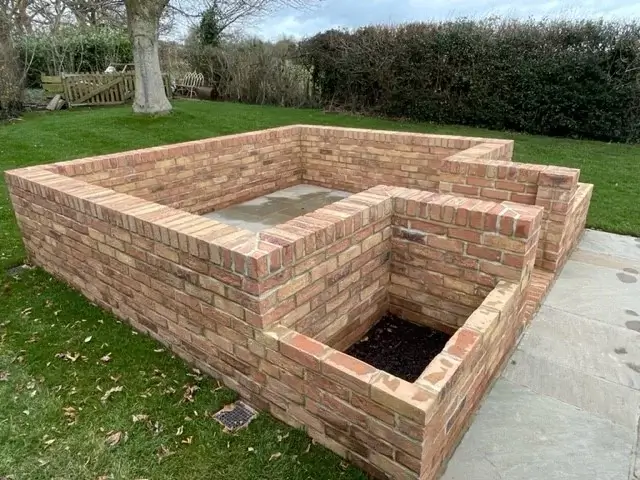
Above left: A concrete pad supports the base walls including the cold frame and internal growing beds. Above centre: Handmade bricks are laid on a strip foundation. The floor inside and out will be gravelled. Above right: A concrete pad extends through the greenhouse but the cold frames are left to open ground.
Drainage
Both inside the greenhouse and out needs to be considered. Think about what you will be growing and, more importantly, watering inside the greenhouse. And think about what you want to do with rainwater run off outside. Lots of people go for a solid concrete pad – it’s straight forward, means you don’t have to pre-think where staging or workbenches might go and should provide you with a weed-free zone for many years to come. There’s nowhere for the run off from a heavy watering session to go, however, and you will have plenty of puddles until it dries out. An additional advantage some gardeners would argue, boosting humidity levels, but incorporating a drainage channel into the floor might be preferable and gives you the perfect excuse to consider covering this with a decorative cast grate.
Outside, your greenhouse will be fitted with guttering and downpipes to collect and discharge rainwater. Especially on smaller greenhouses it is acceptable to allow the downpipes to simply discharge onto the ground surrounding the greenhouse. But on larger houses, and if the surrounding area is hard landscaped, you may prefer to incorporate gulleys into your plan which the downpipes can be directed into. Lots of gardeners are also keen to harvest any rainwater they can to use for watering and there are innumerable ways of doing this too. From a discretely placed but economical plastic water butt through to a vast array of wooden, galvanised, salvaged or crafted vessels, this is a project in itself! We strongly recommend talking to us about what you intend to do, however, so we can help you ensure details such as the exact placement of gulleys or the compatibility of a converter kit are got right and everything works seamlessly once the greenhouse is installed and our team leave your garden.
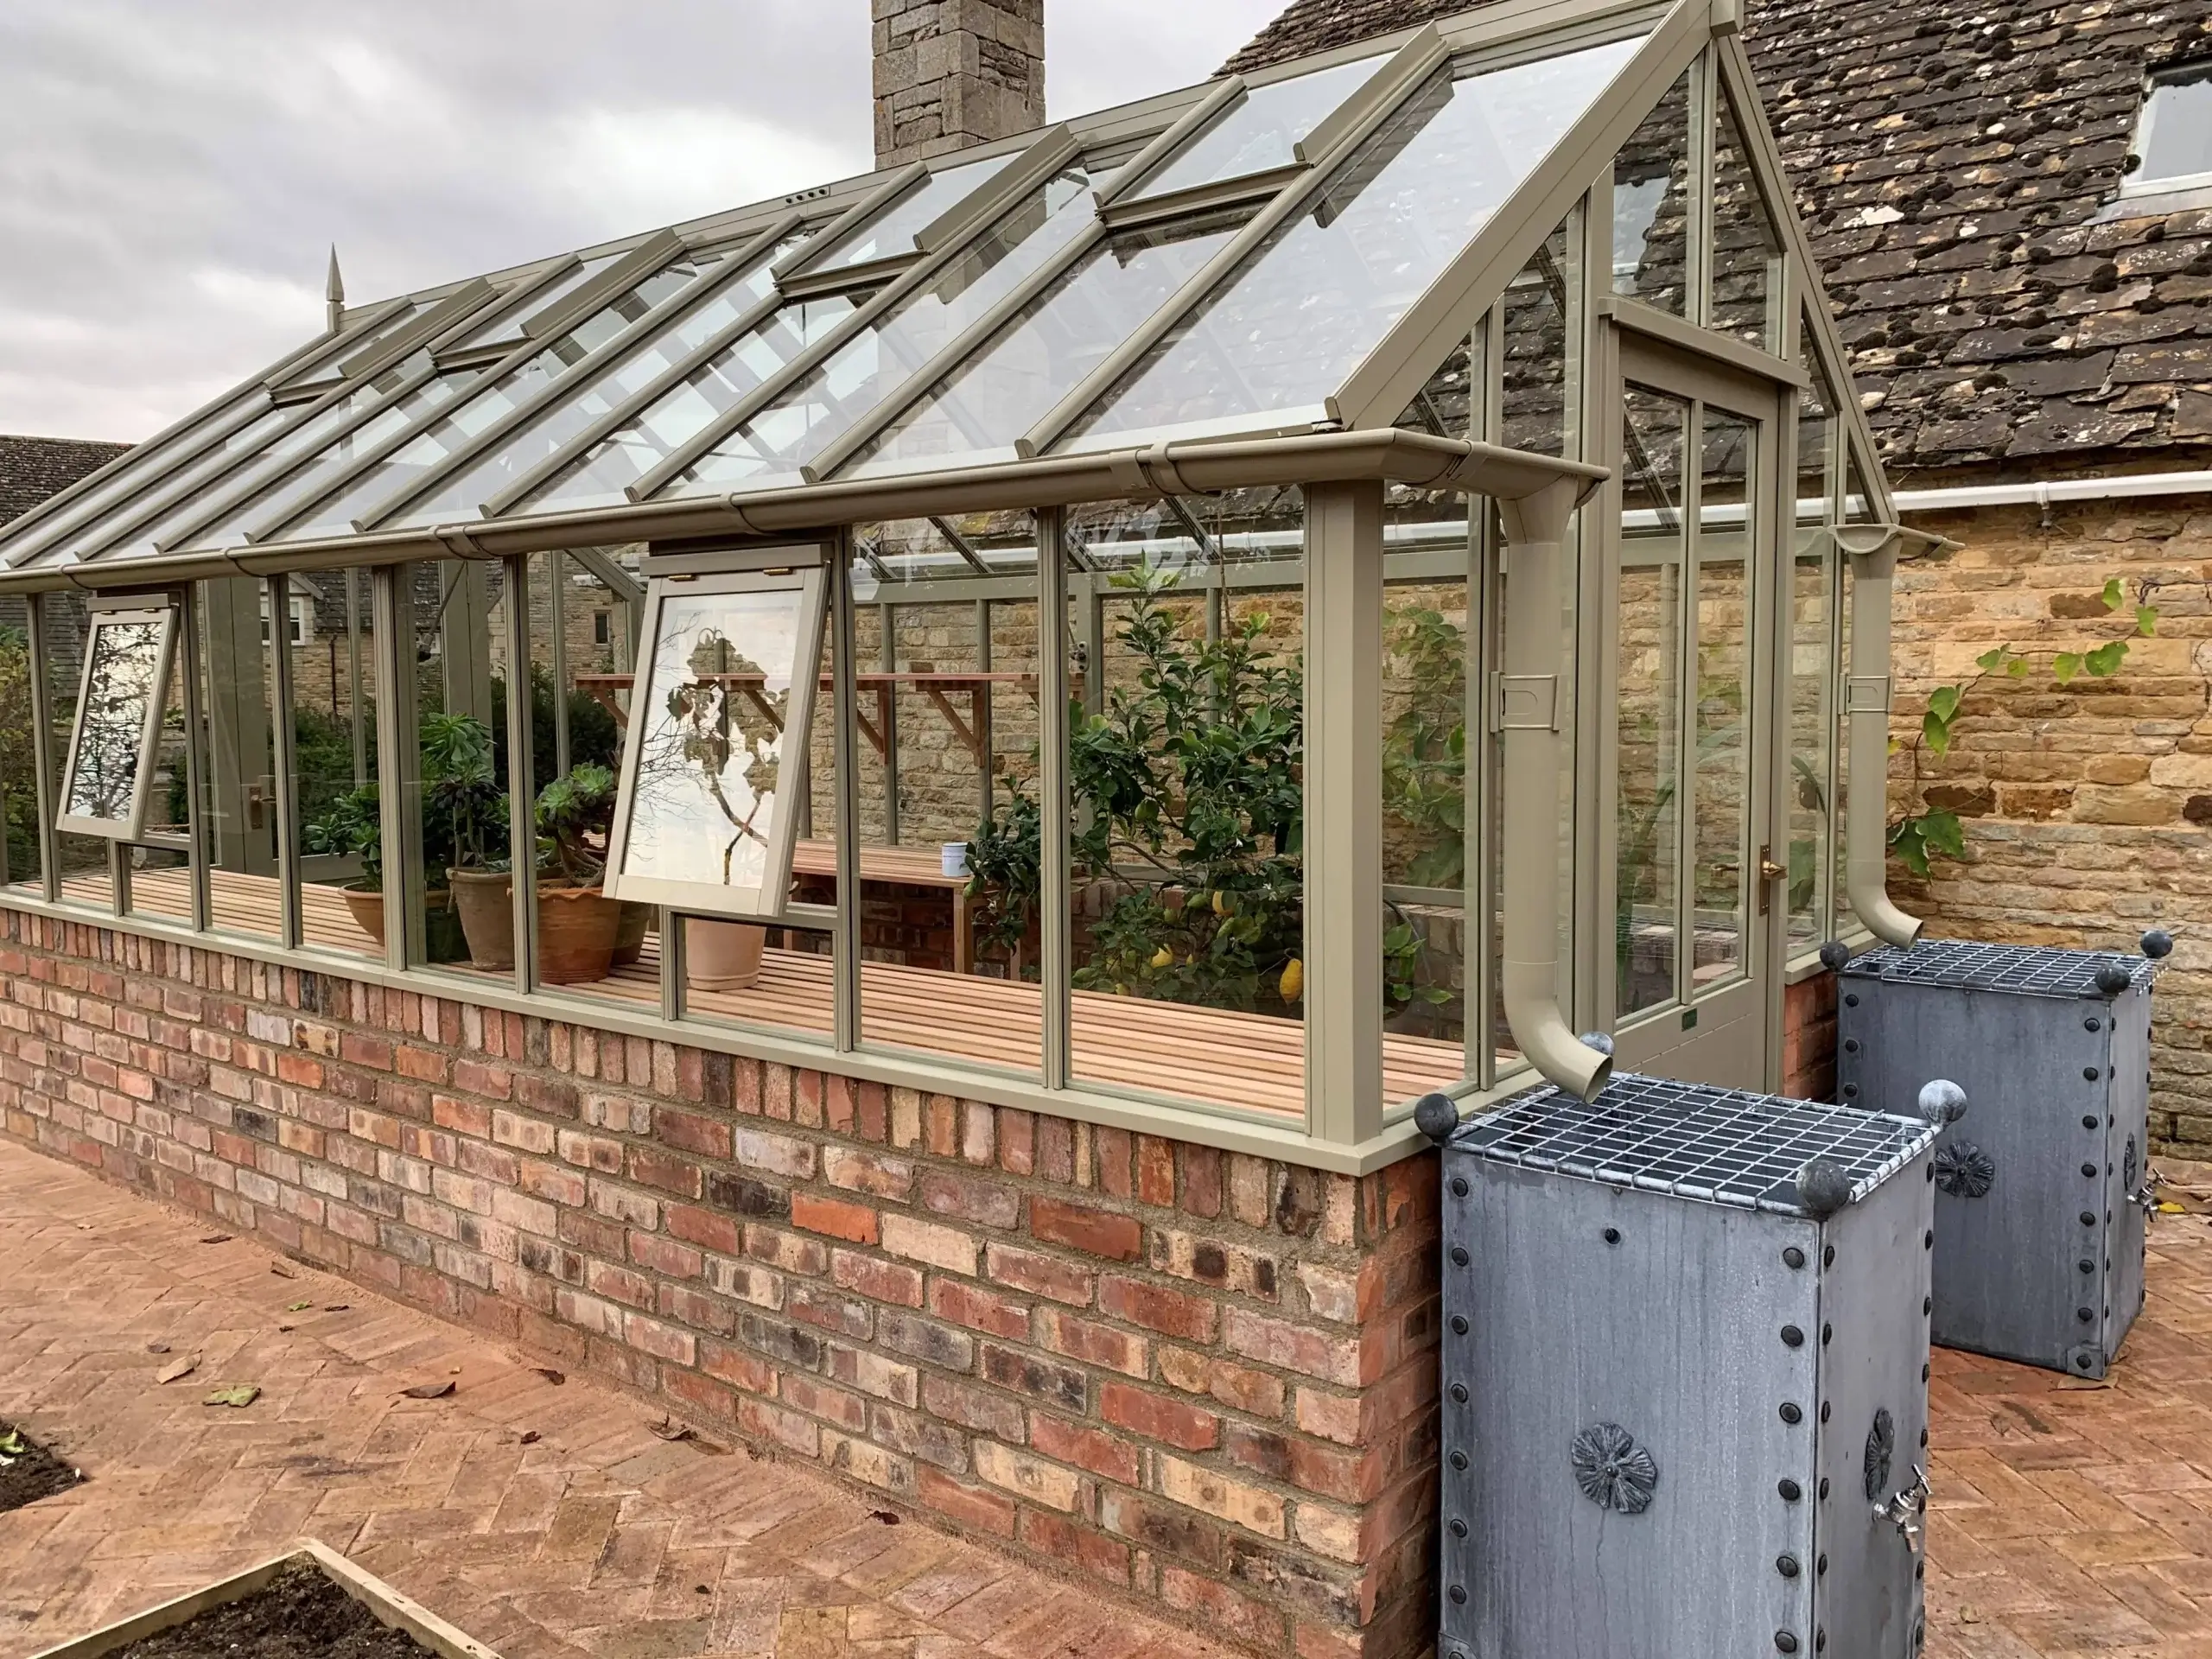
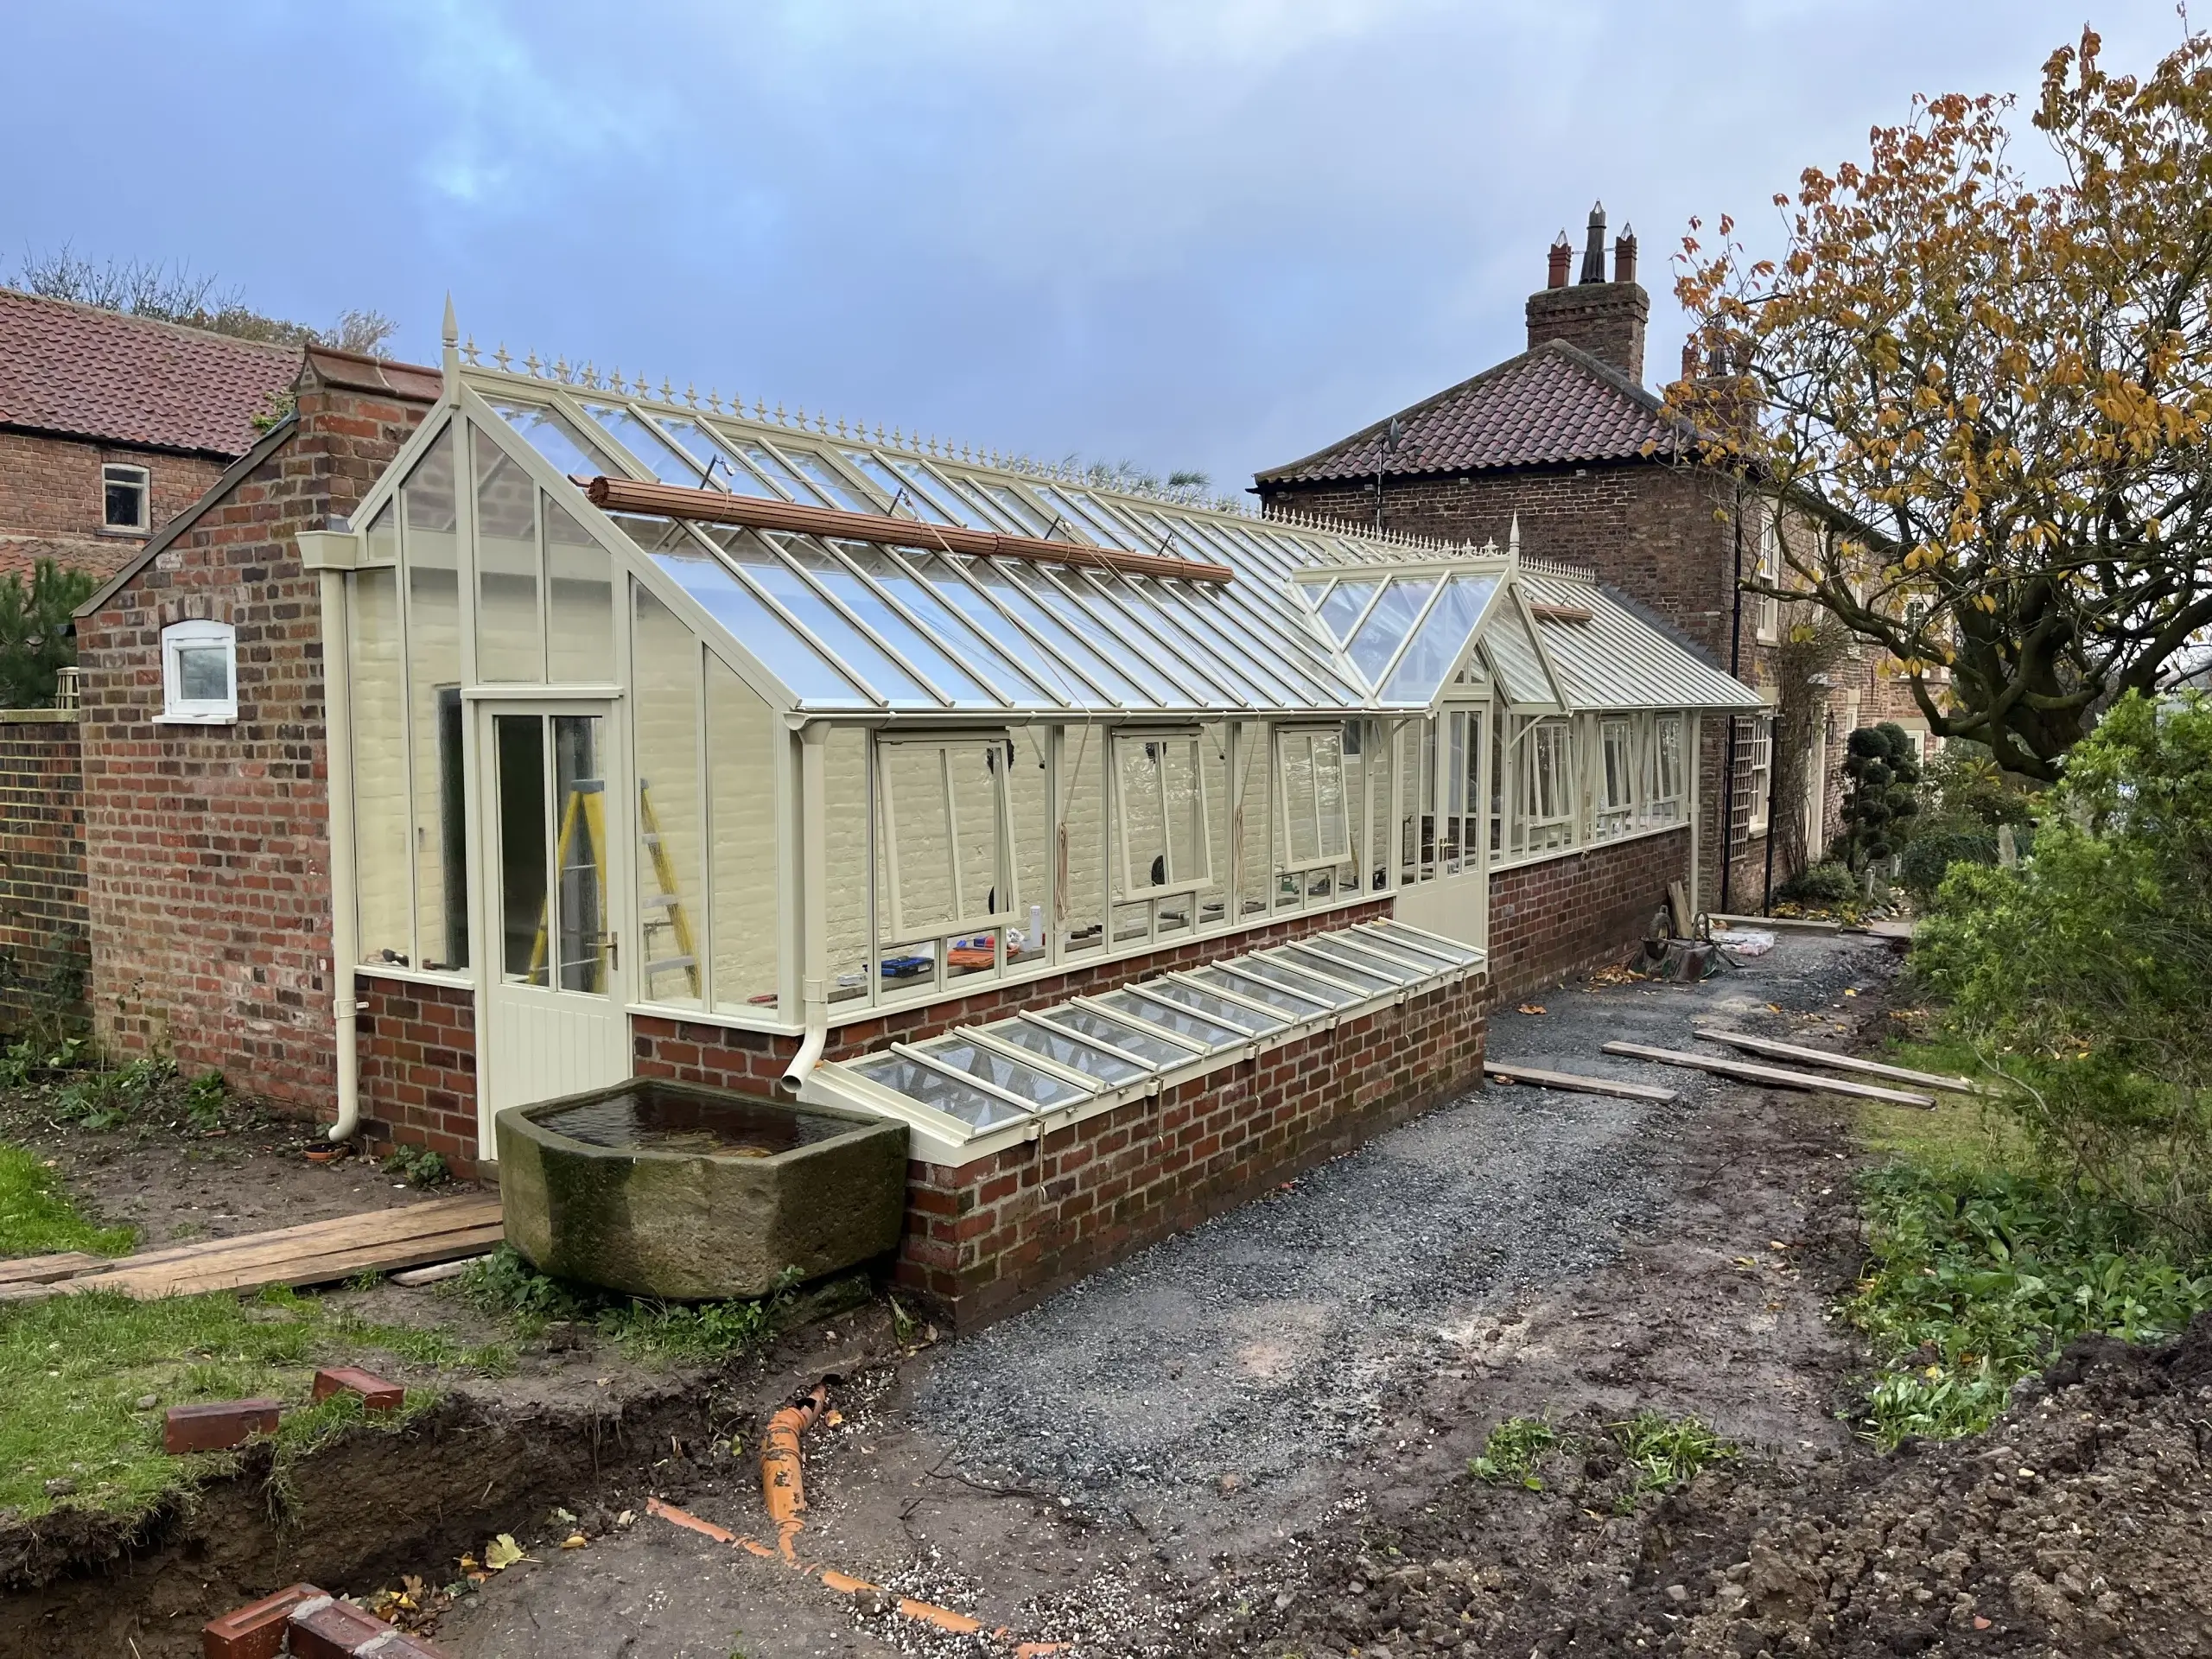
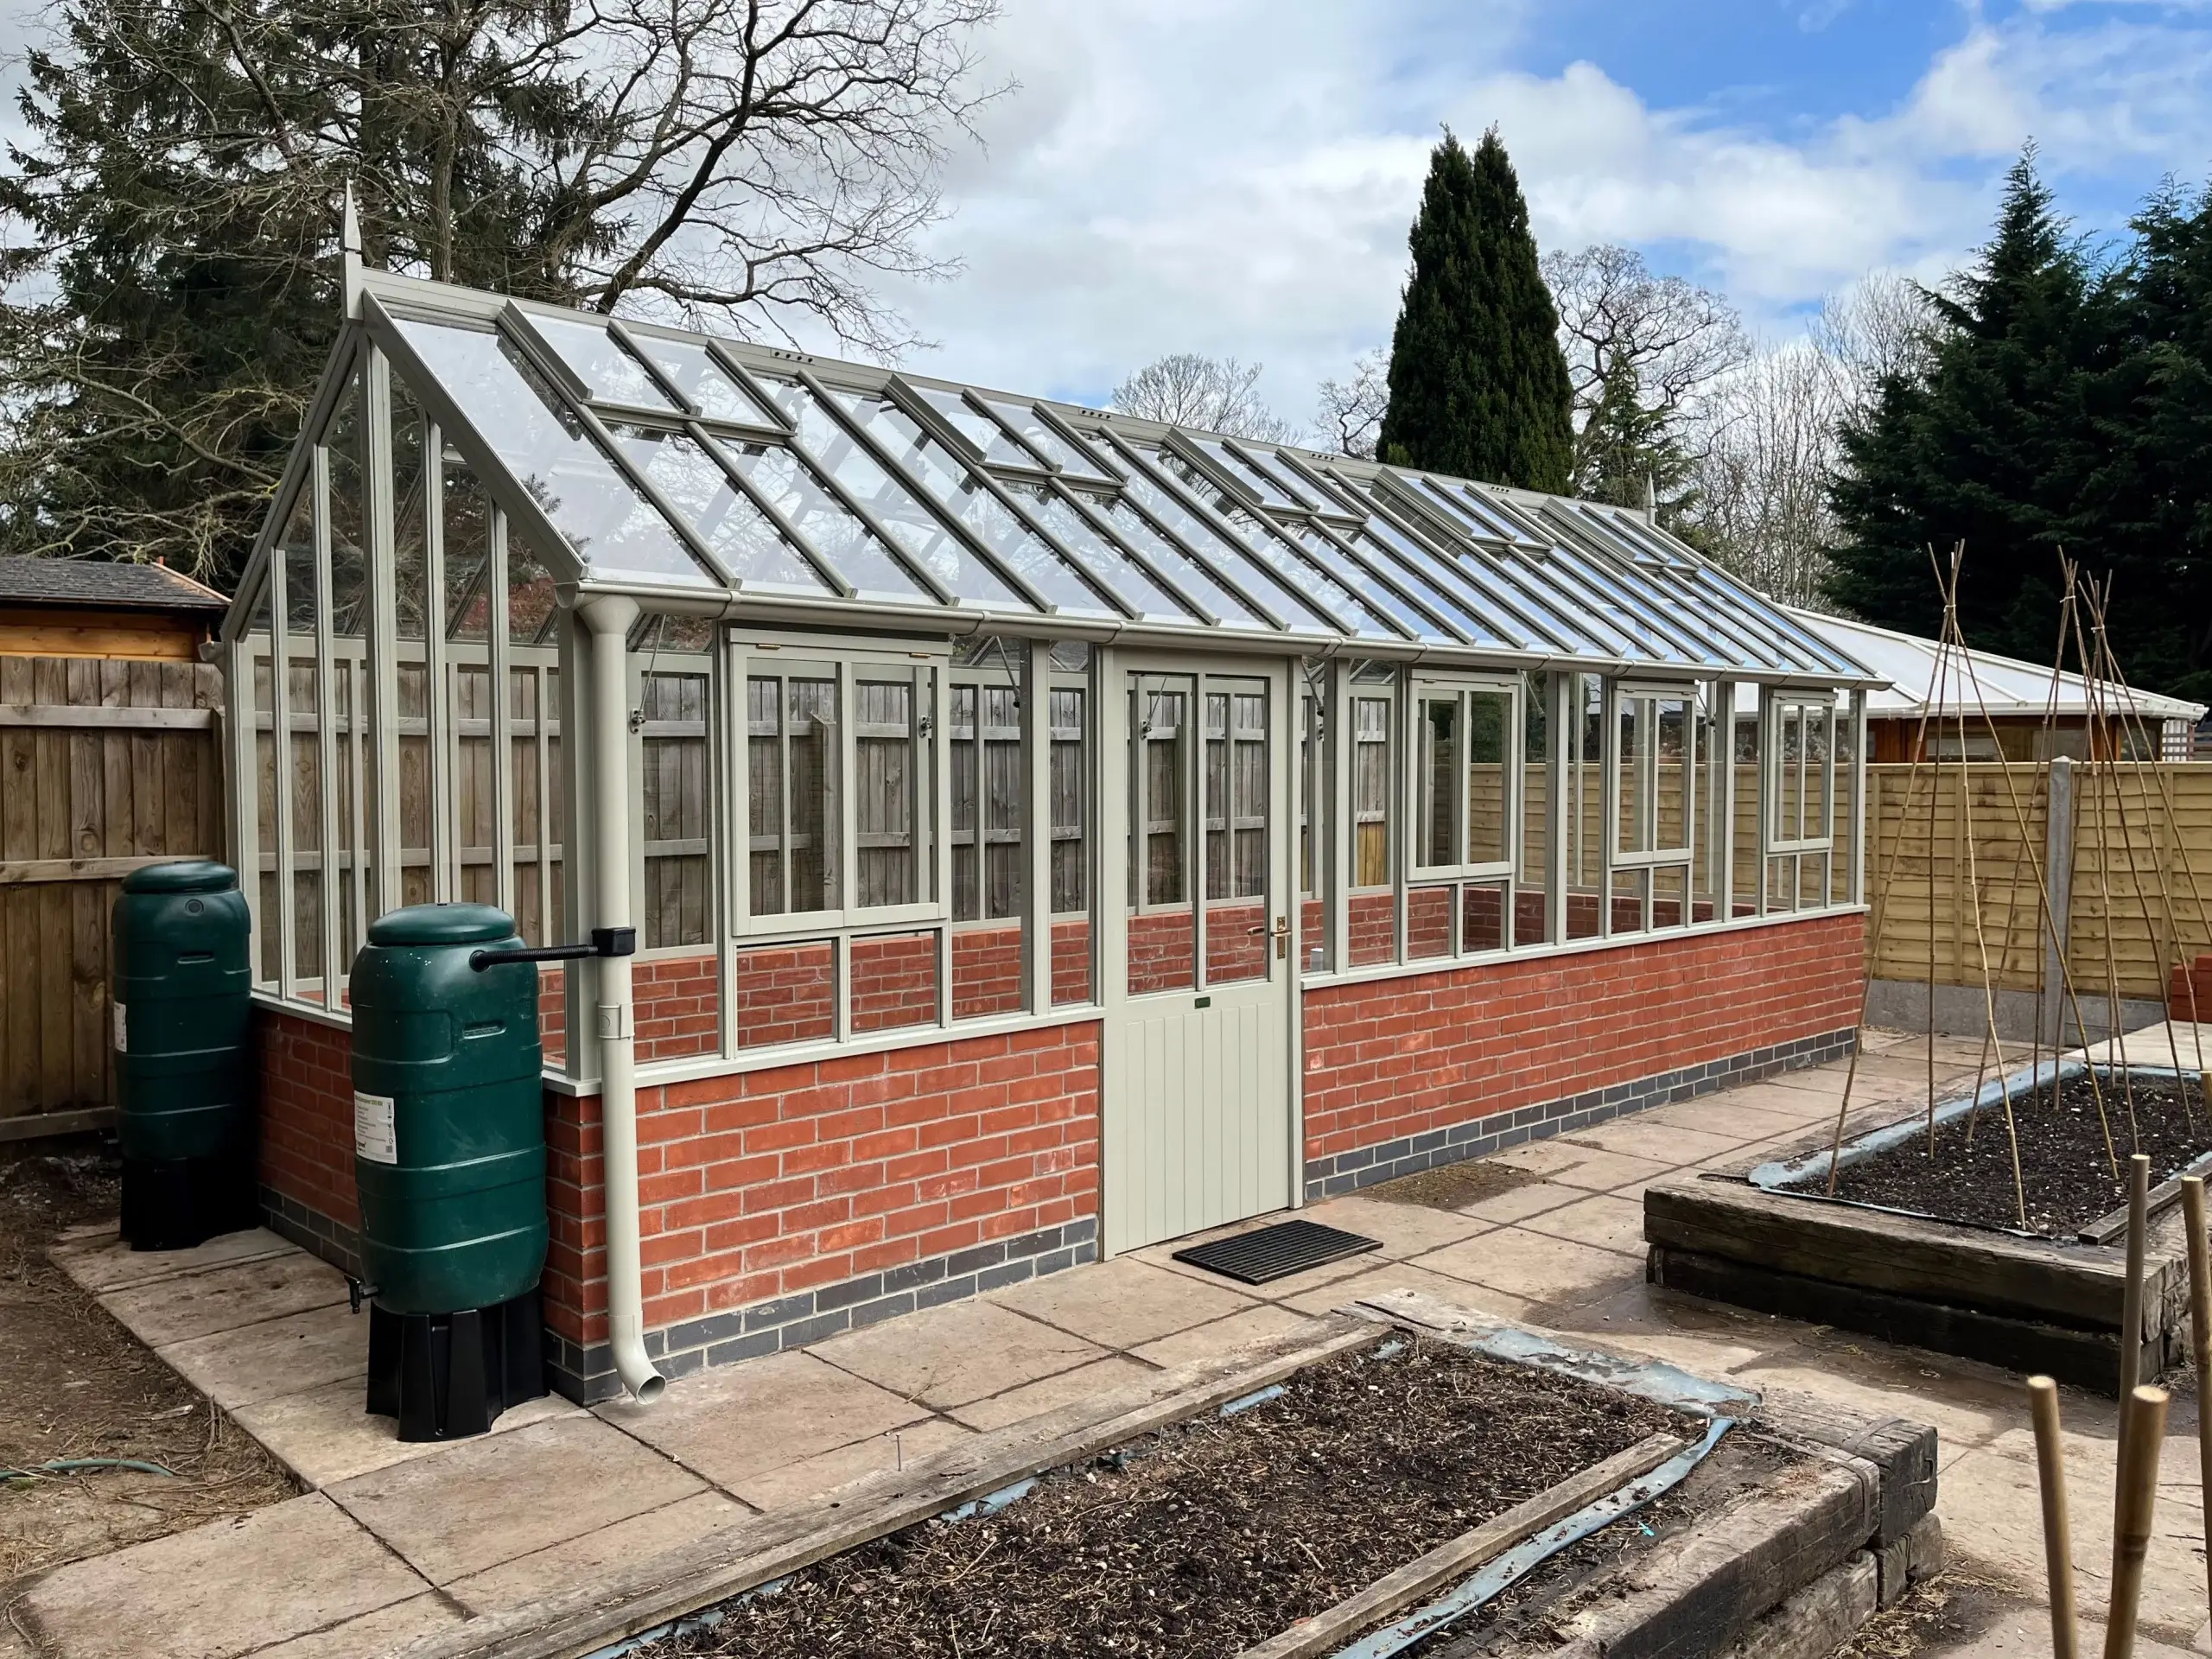
Above left: Colour-matched downpipes discharging into galvanised water tanks on an Arley 10. Above centre: colour-matched guttering directed into a stone trough. Above right: A diverter kit is one of the simplest ways of connecting to a water butt allowing the downpipe to act as an overflow too.
Utilities
If you have the opportunity to get power to your greenhouse, and this is best done at the building stage, then you’re giving yourself scope to have heaters, lighting, a kettle etc. For many, the greenhouse will also provide sanctuary to the owners as well as their plants, so facilitating a few mod cons is a wise move. Lighting may seem unnecessary – if it’s gone dark, you should probably have called it a day! But the greenhouse can double as a fabulous alternative dining space and can add another dimension if included in a garden lighting plan. Use the filters in our Interiors Gallery to see the IP65 rated lighting system we offer which ensures most of the cabling is discreetly concealed.
When briefing your electrician, make sure they know what you plan to run in the greenhouse so they can spec the wiring accordingly and make sure things like light switches are positioned where you can easily reach them. Unlike the walls of your home, your options are more limited in a greenhouse and it’s preferable to minimise the amount of cabling you need to have exposed.
If you are not planning to collect the rainwater run off somehow it’s worth thinking about having a tap in or near the greenhouse. Some go as far as including a kitchen sink too – useful for scrubbing pots or rinsing freshly picked produce for a super-speedy salad turnaround. Think about these things at the building stage rather than afterwards. They may add cost and complexity to the building work but it’s much easier to incorporate these elements at the beginning.
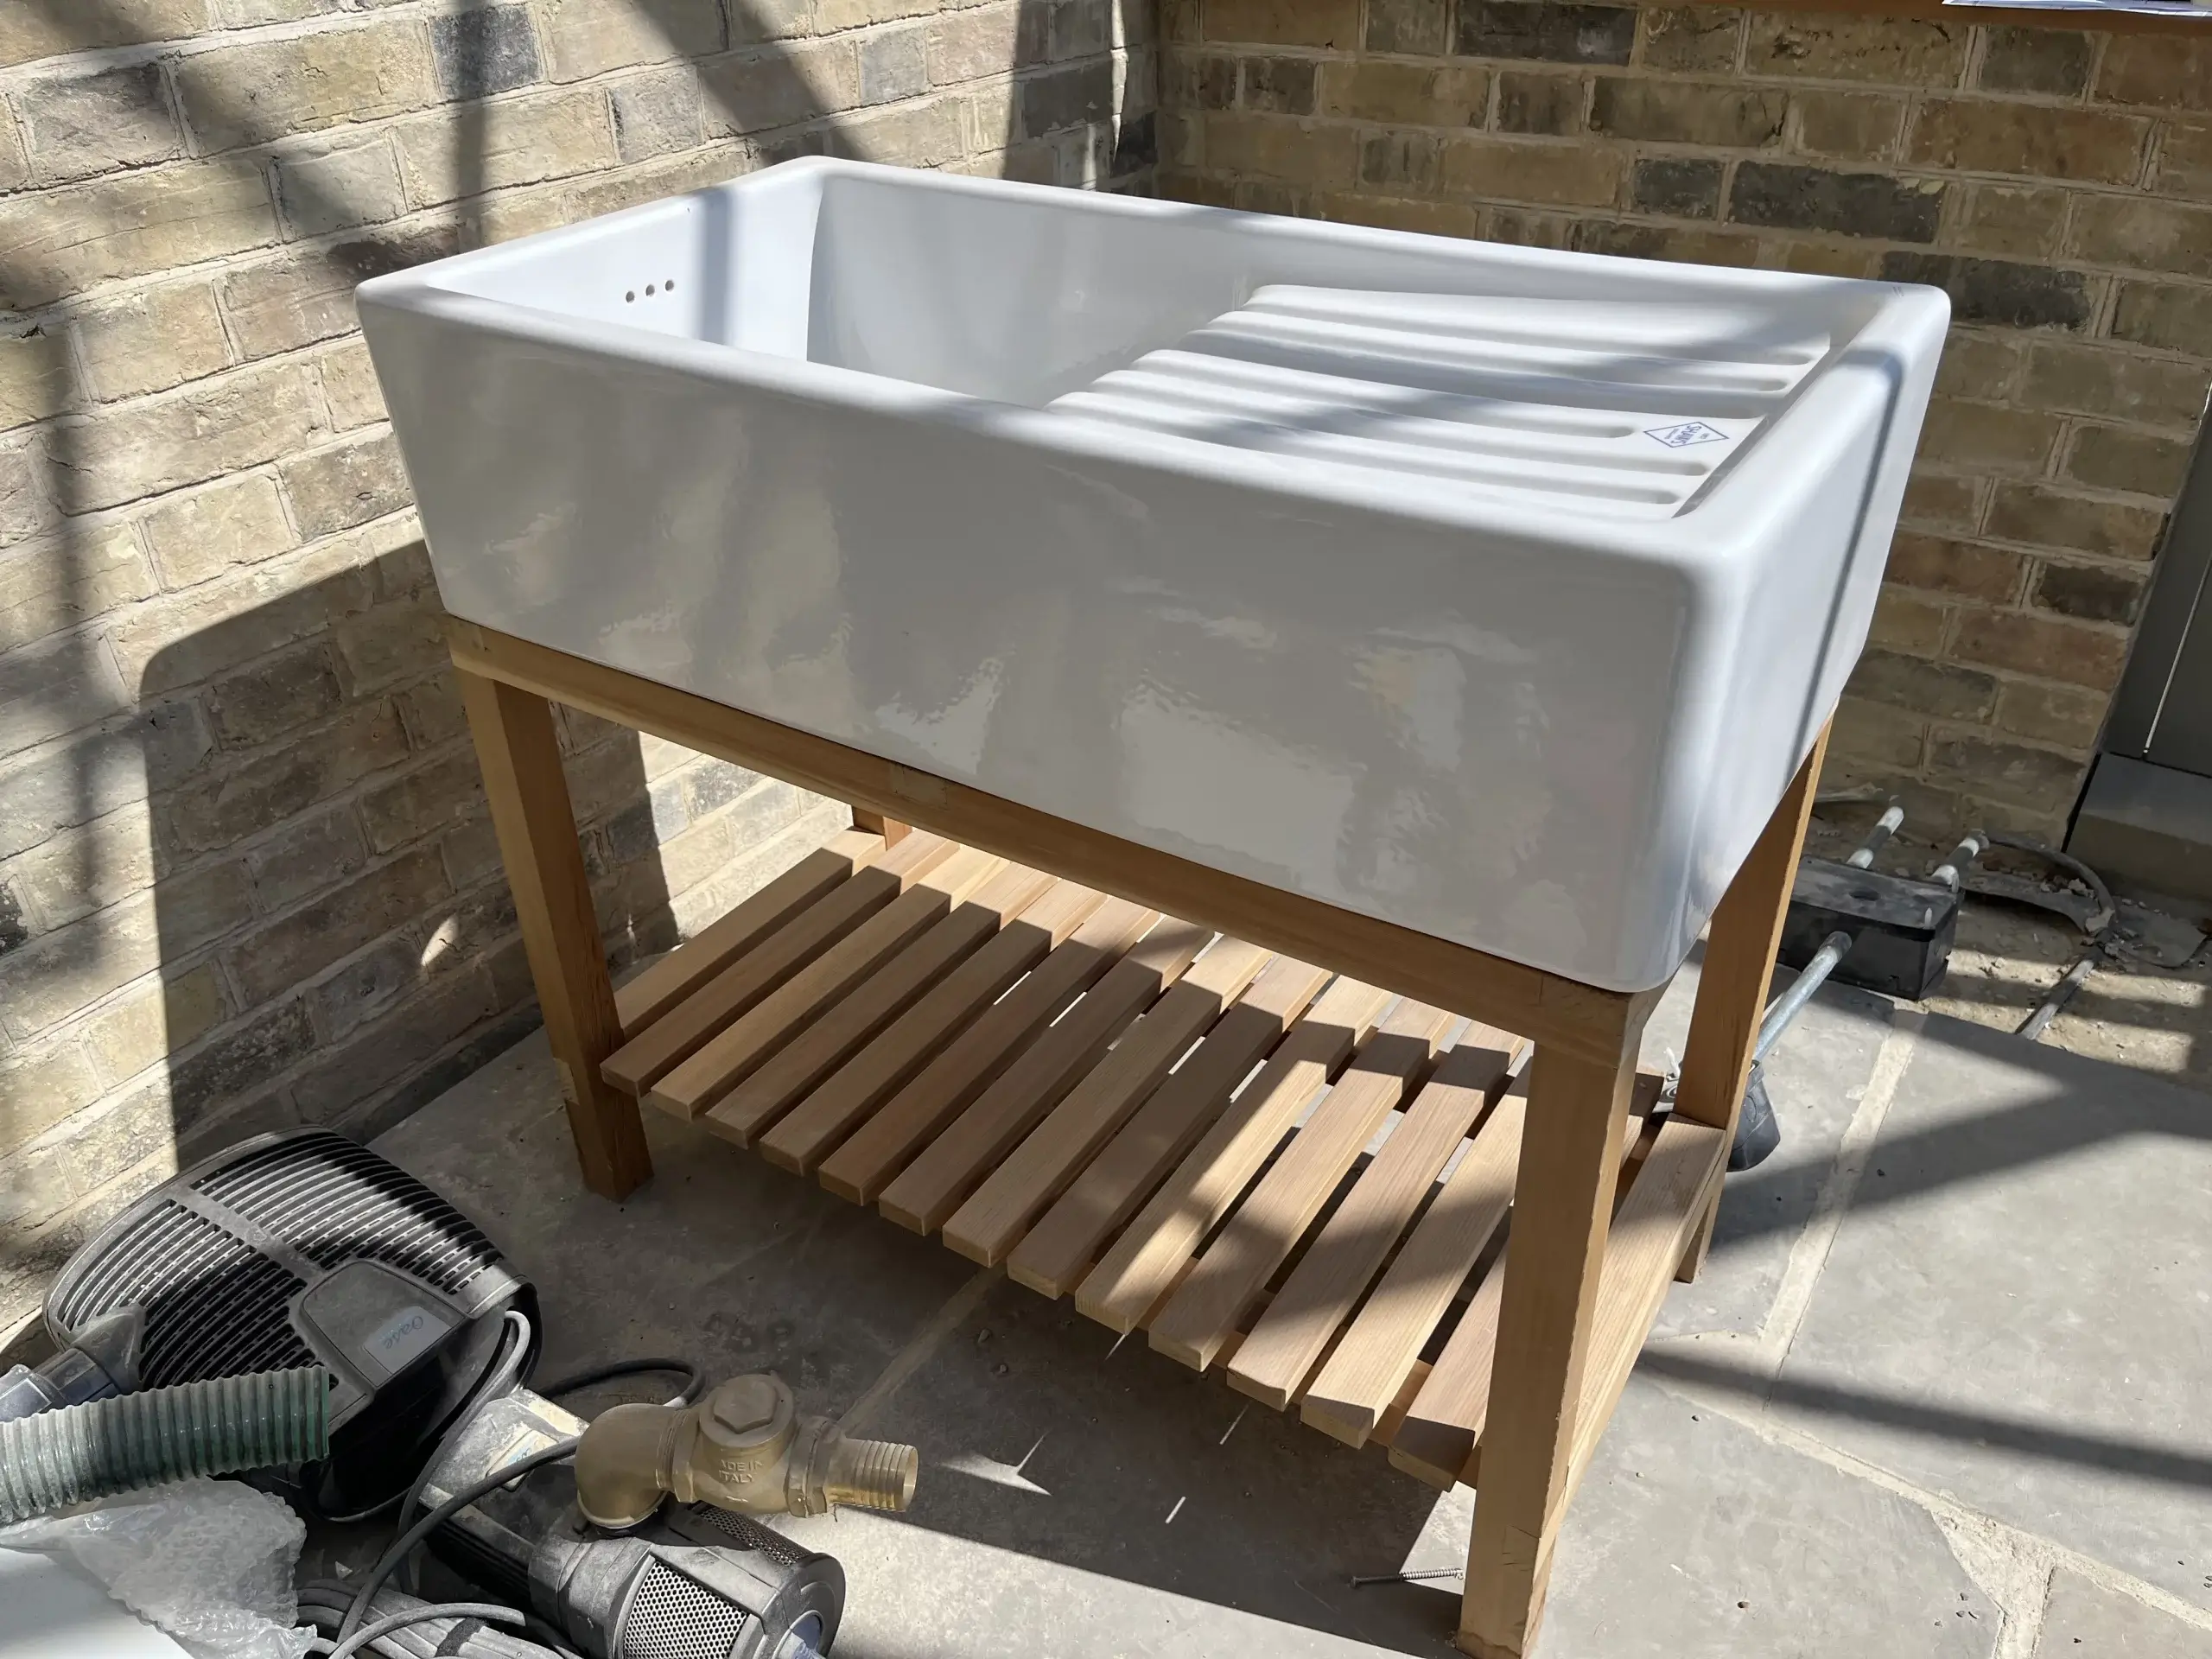
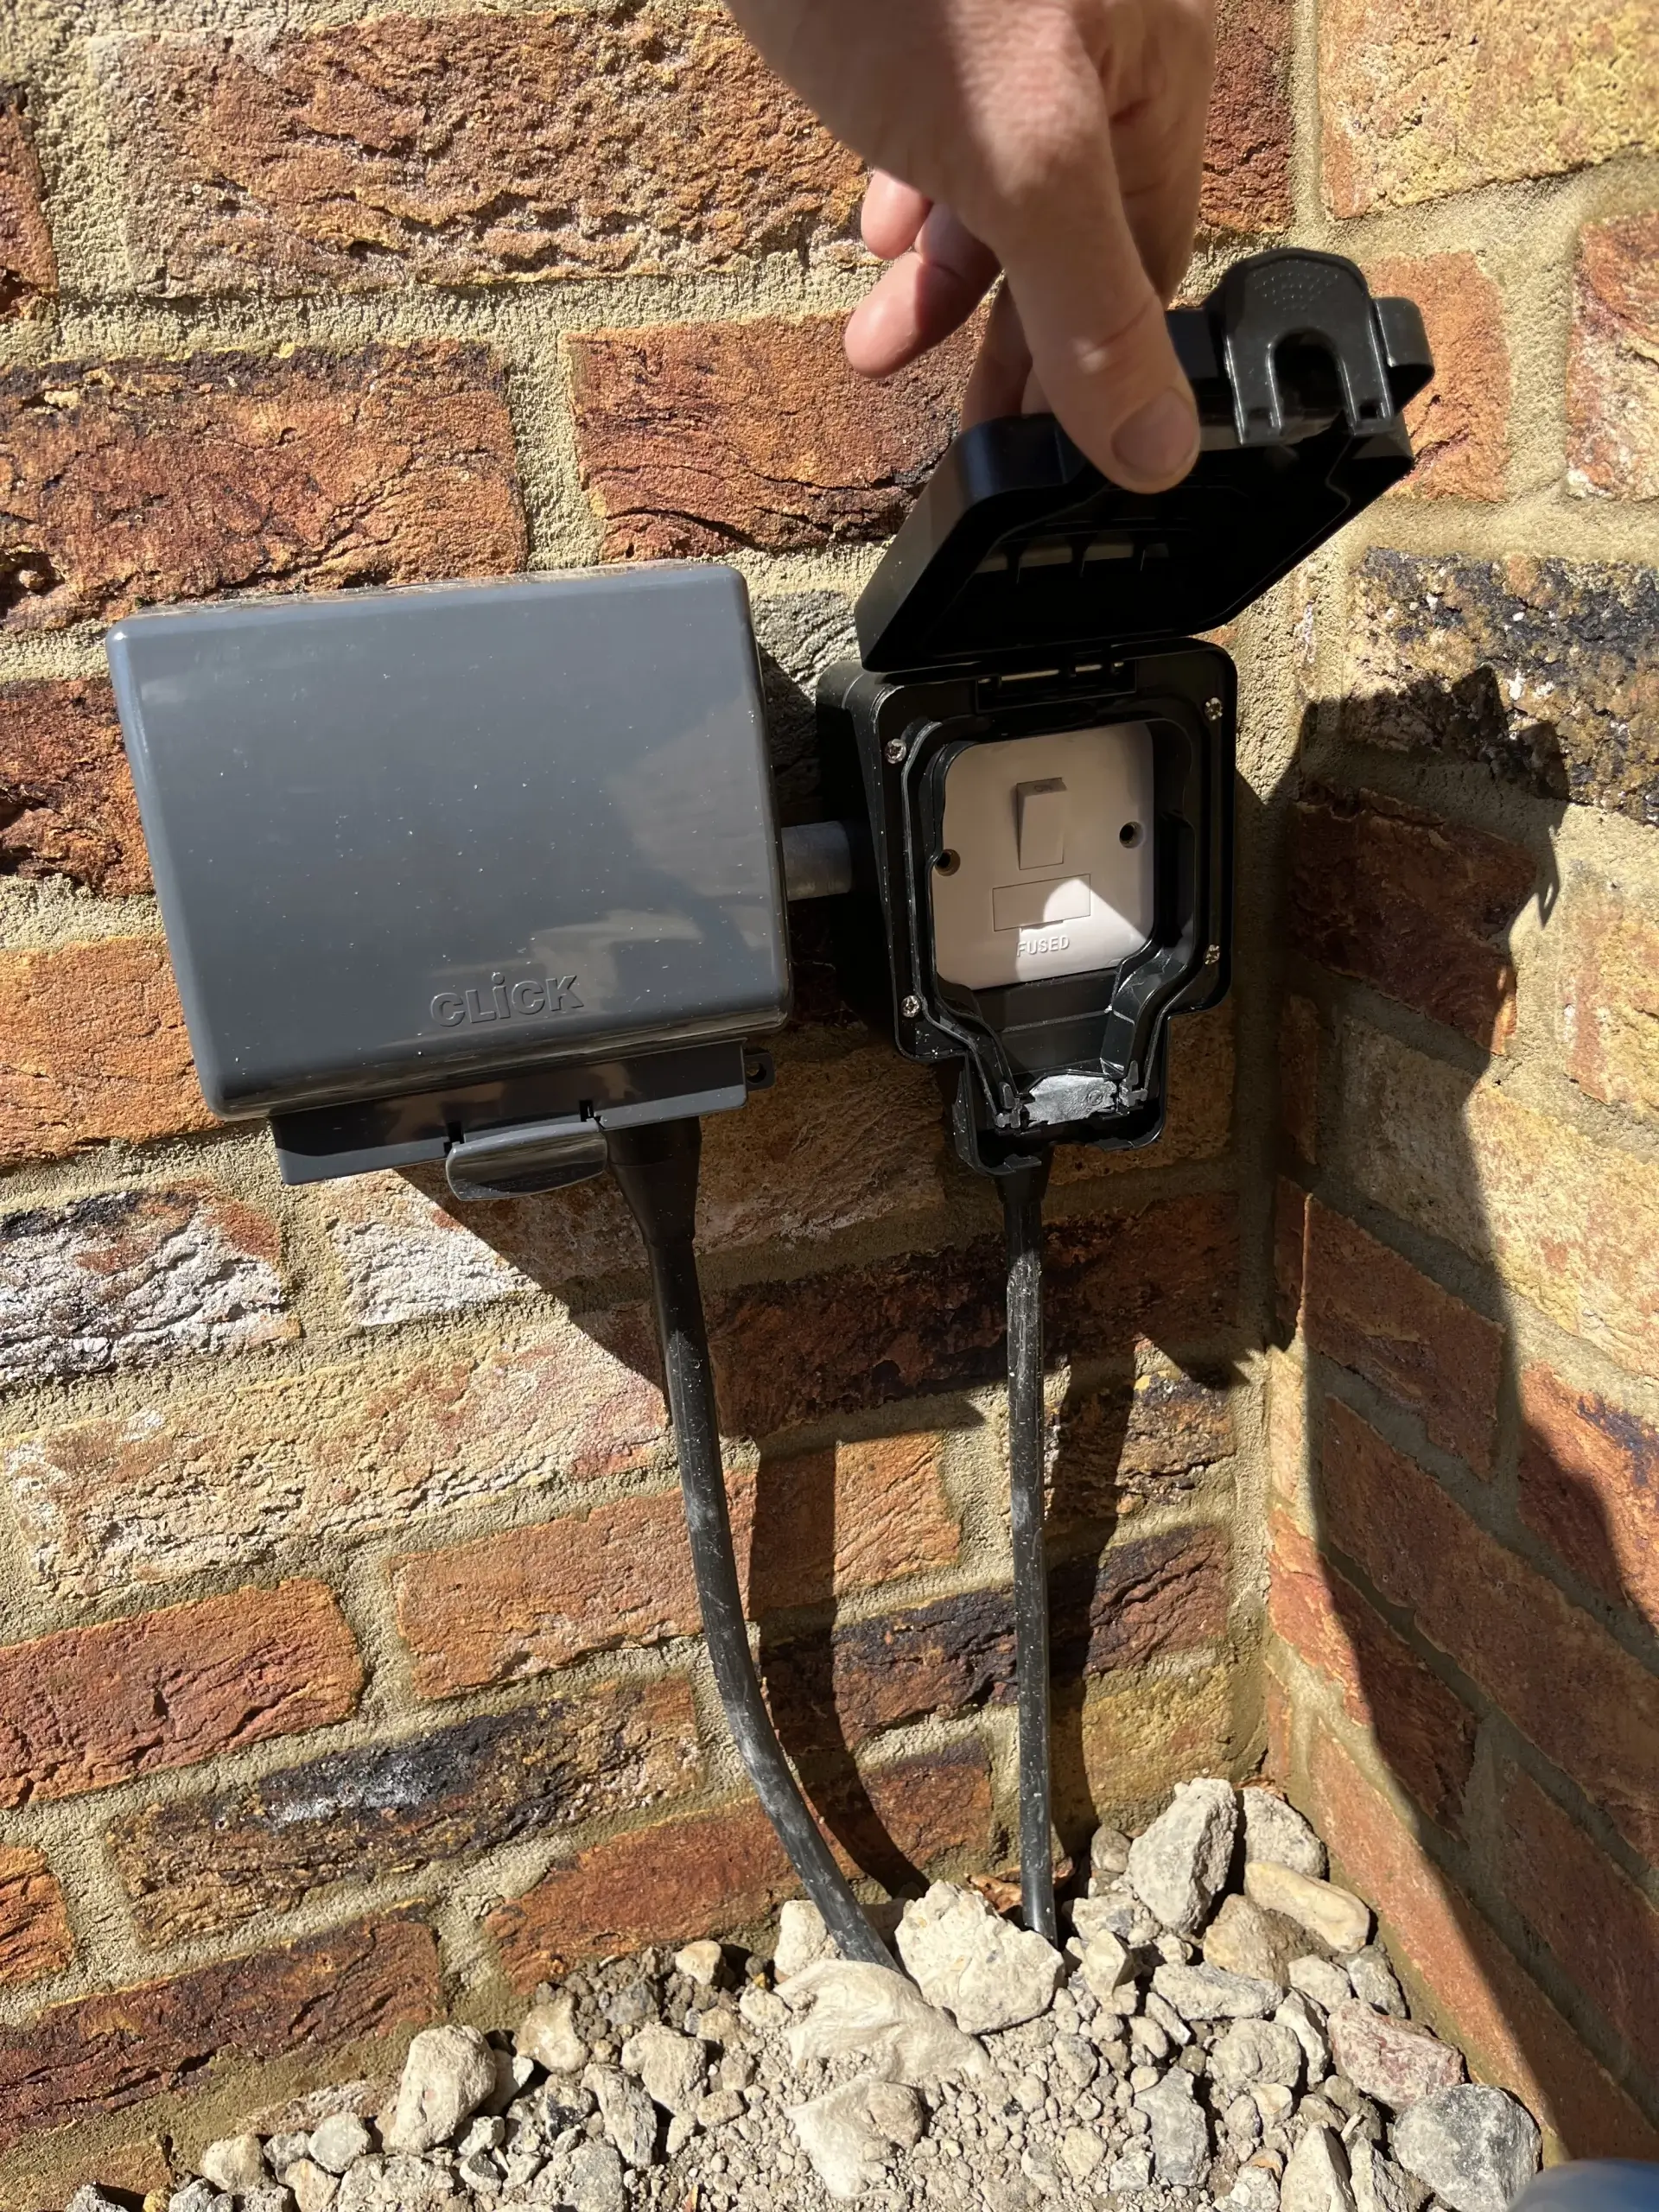
Above left: A bespoke piece of staging to house a Belfast sink. Above right: It’s worth considering getting power to your greenhouse
Base walls
The choice of brick or stone or block and render is often dictated by the immediate surroundings, matching to your house or nearby outbuildings making obvious sense. Bricks are perhaps the most common choice, with handmade or reclaimed types helping to ensure the greenhouse looks like it’s been there forever even if it hasn’t. As a general rule, for most of our Signature buildings, a simple single skin wall with additional reinforcement piers on larger buildings, is sufficient.
Bear in mind, the framework of your greenhouse is going to sit on the outside edge of the wall, leaving most of the top of the wall visible inside the greenhouse, so make sure it’s neat and turn any frogs upside down. A double skin wall, whilst not essential from a structural point of view, is also a popular choice for aesthetic reasons and, if finished with a top soldier course, it looks neat and finished-off and gives you a useful wider ledge which plants can sit on.
The positioning of the greenhouse framework on the base wall (the outside edge) should be kept in mind if you are considering finishing the tops of your walls with some form of coping stone. It can look top-heavy if the coping stone overhangs the face of the wall and it can make our job of fixing the framework down more difficult. If you are using a very inconsistent building material for the walls, stone for example, a coping can be helpful in establishing a nice flat/level/straight surface for us to work to but it’s worth talking to us in advance.
Incorporating a cavity is not advisable. The improvement to thermal retention is negligible in a structure that is largely made out of glass and there is often no good, neat way of closing the cavity as you would in a normal building because the greenhouse framework doesn’t allow for it.
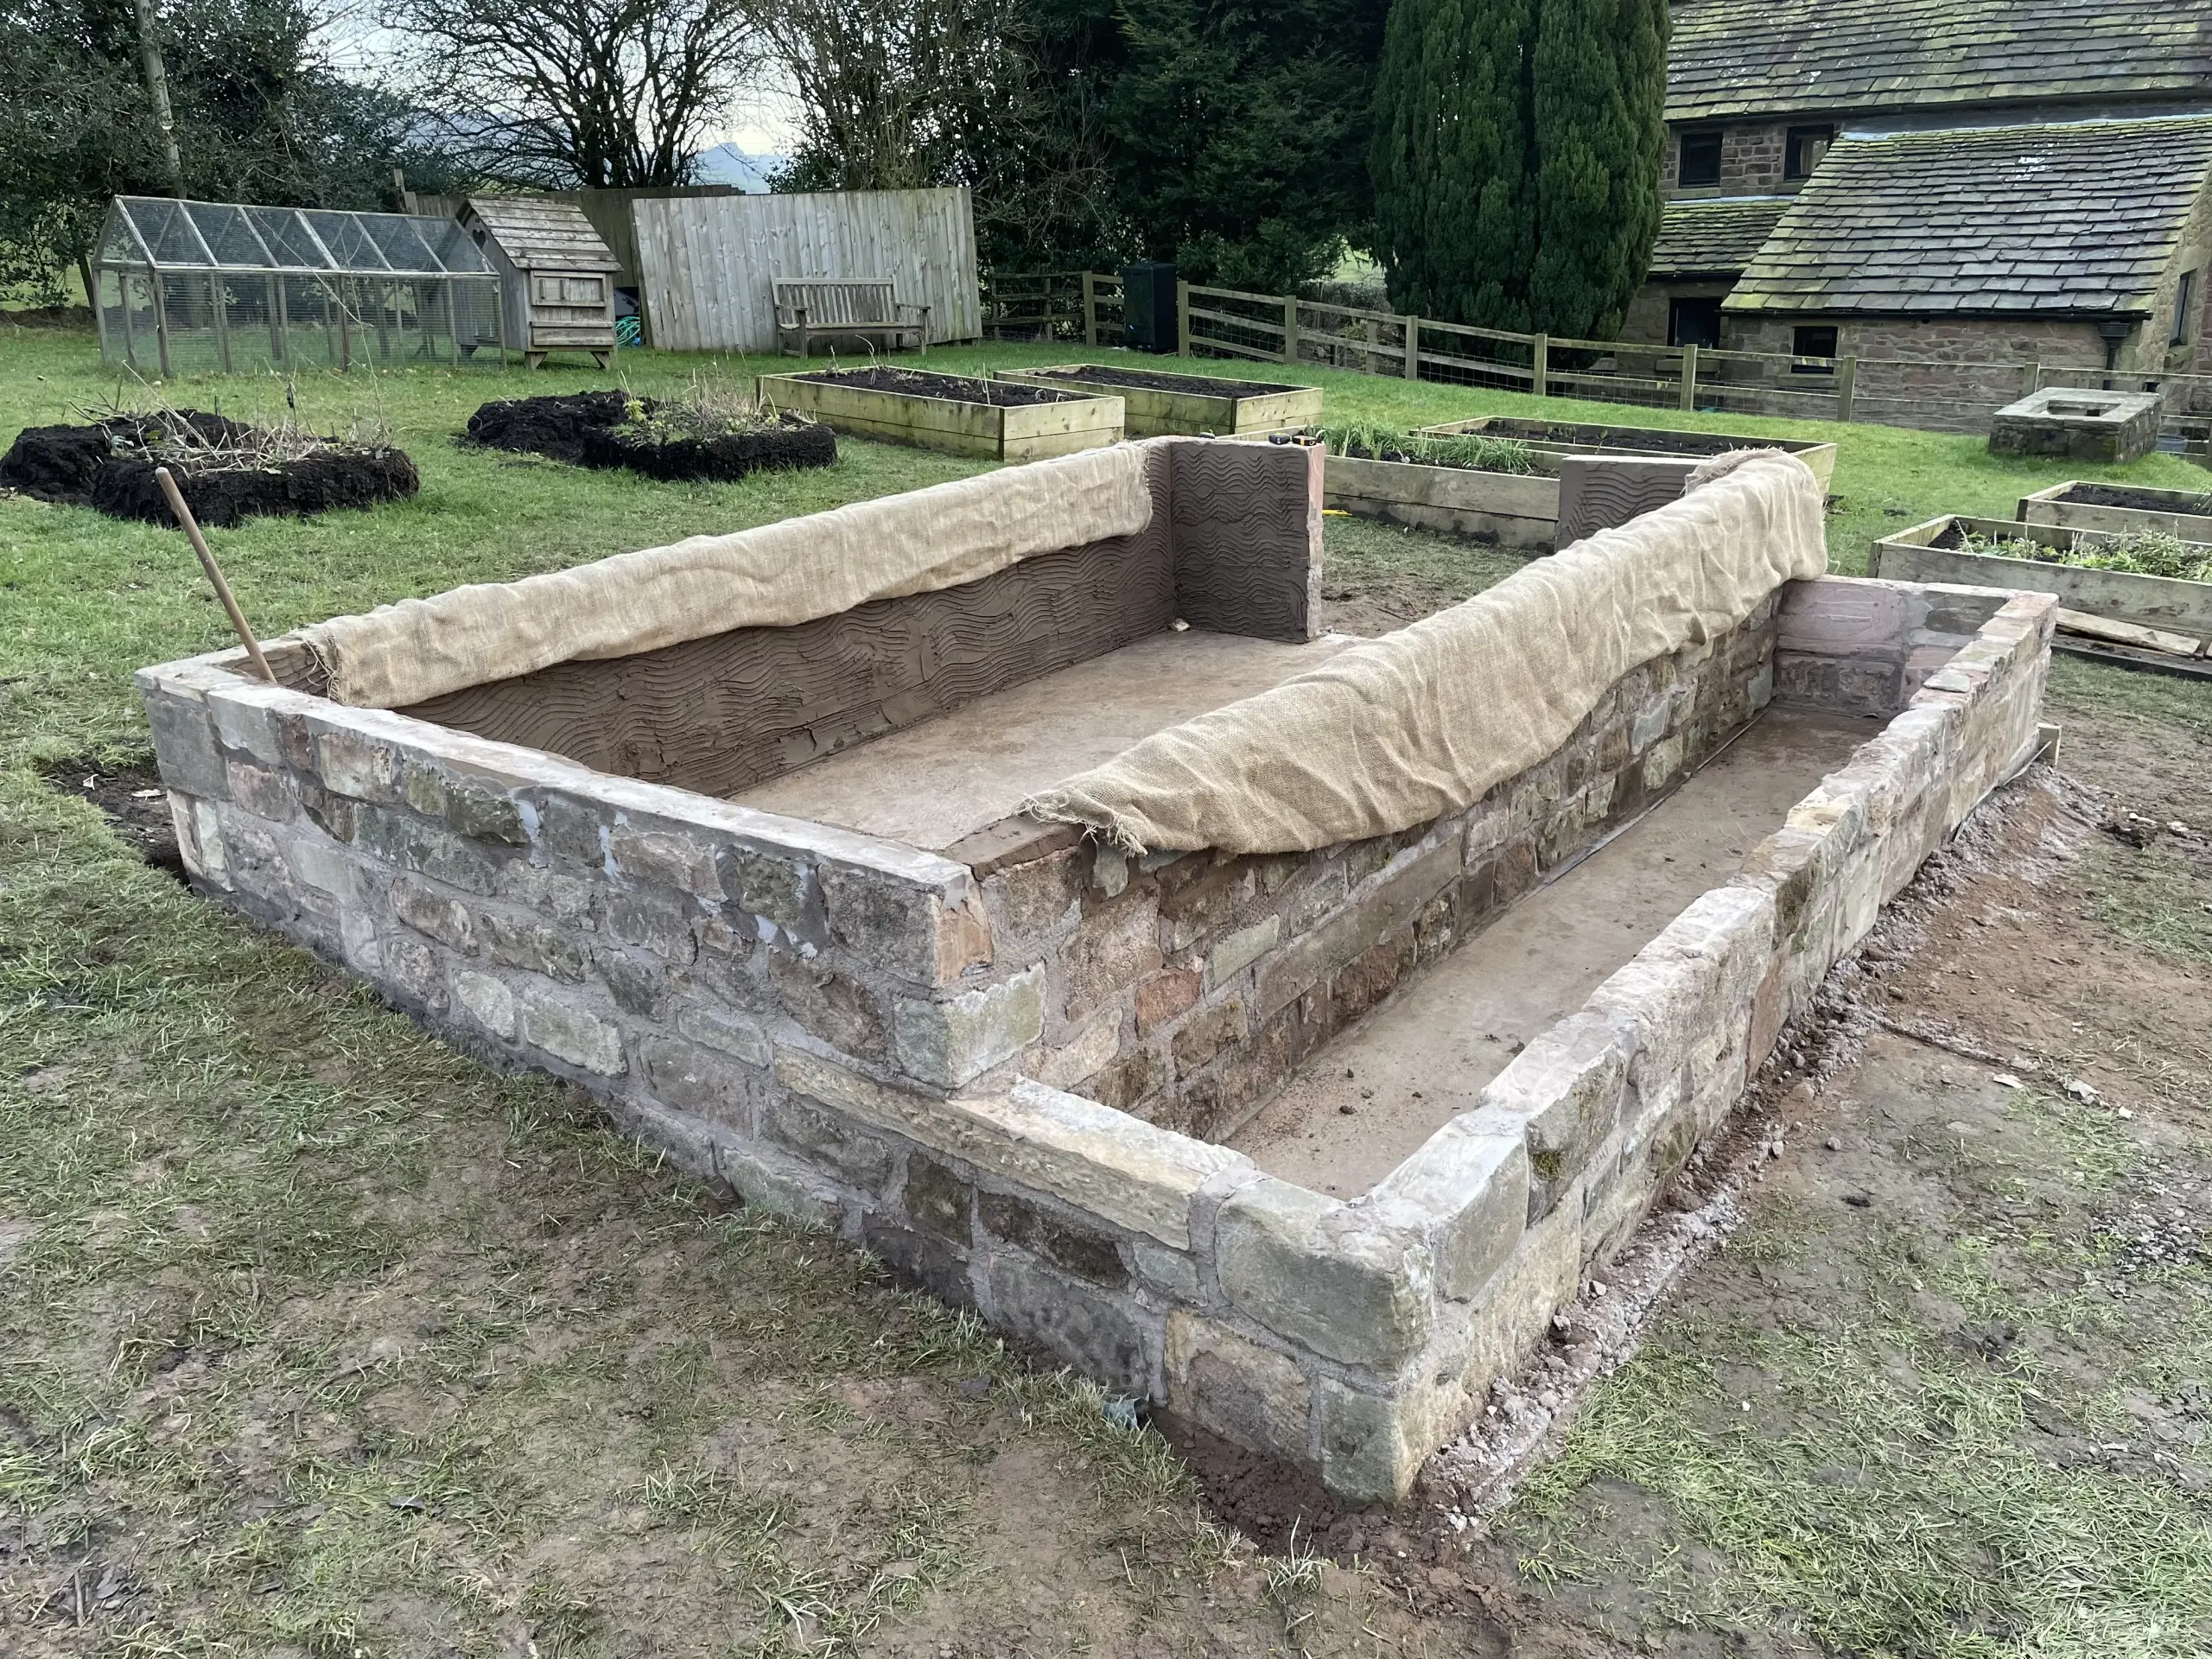
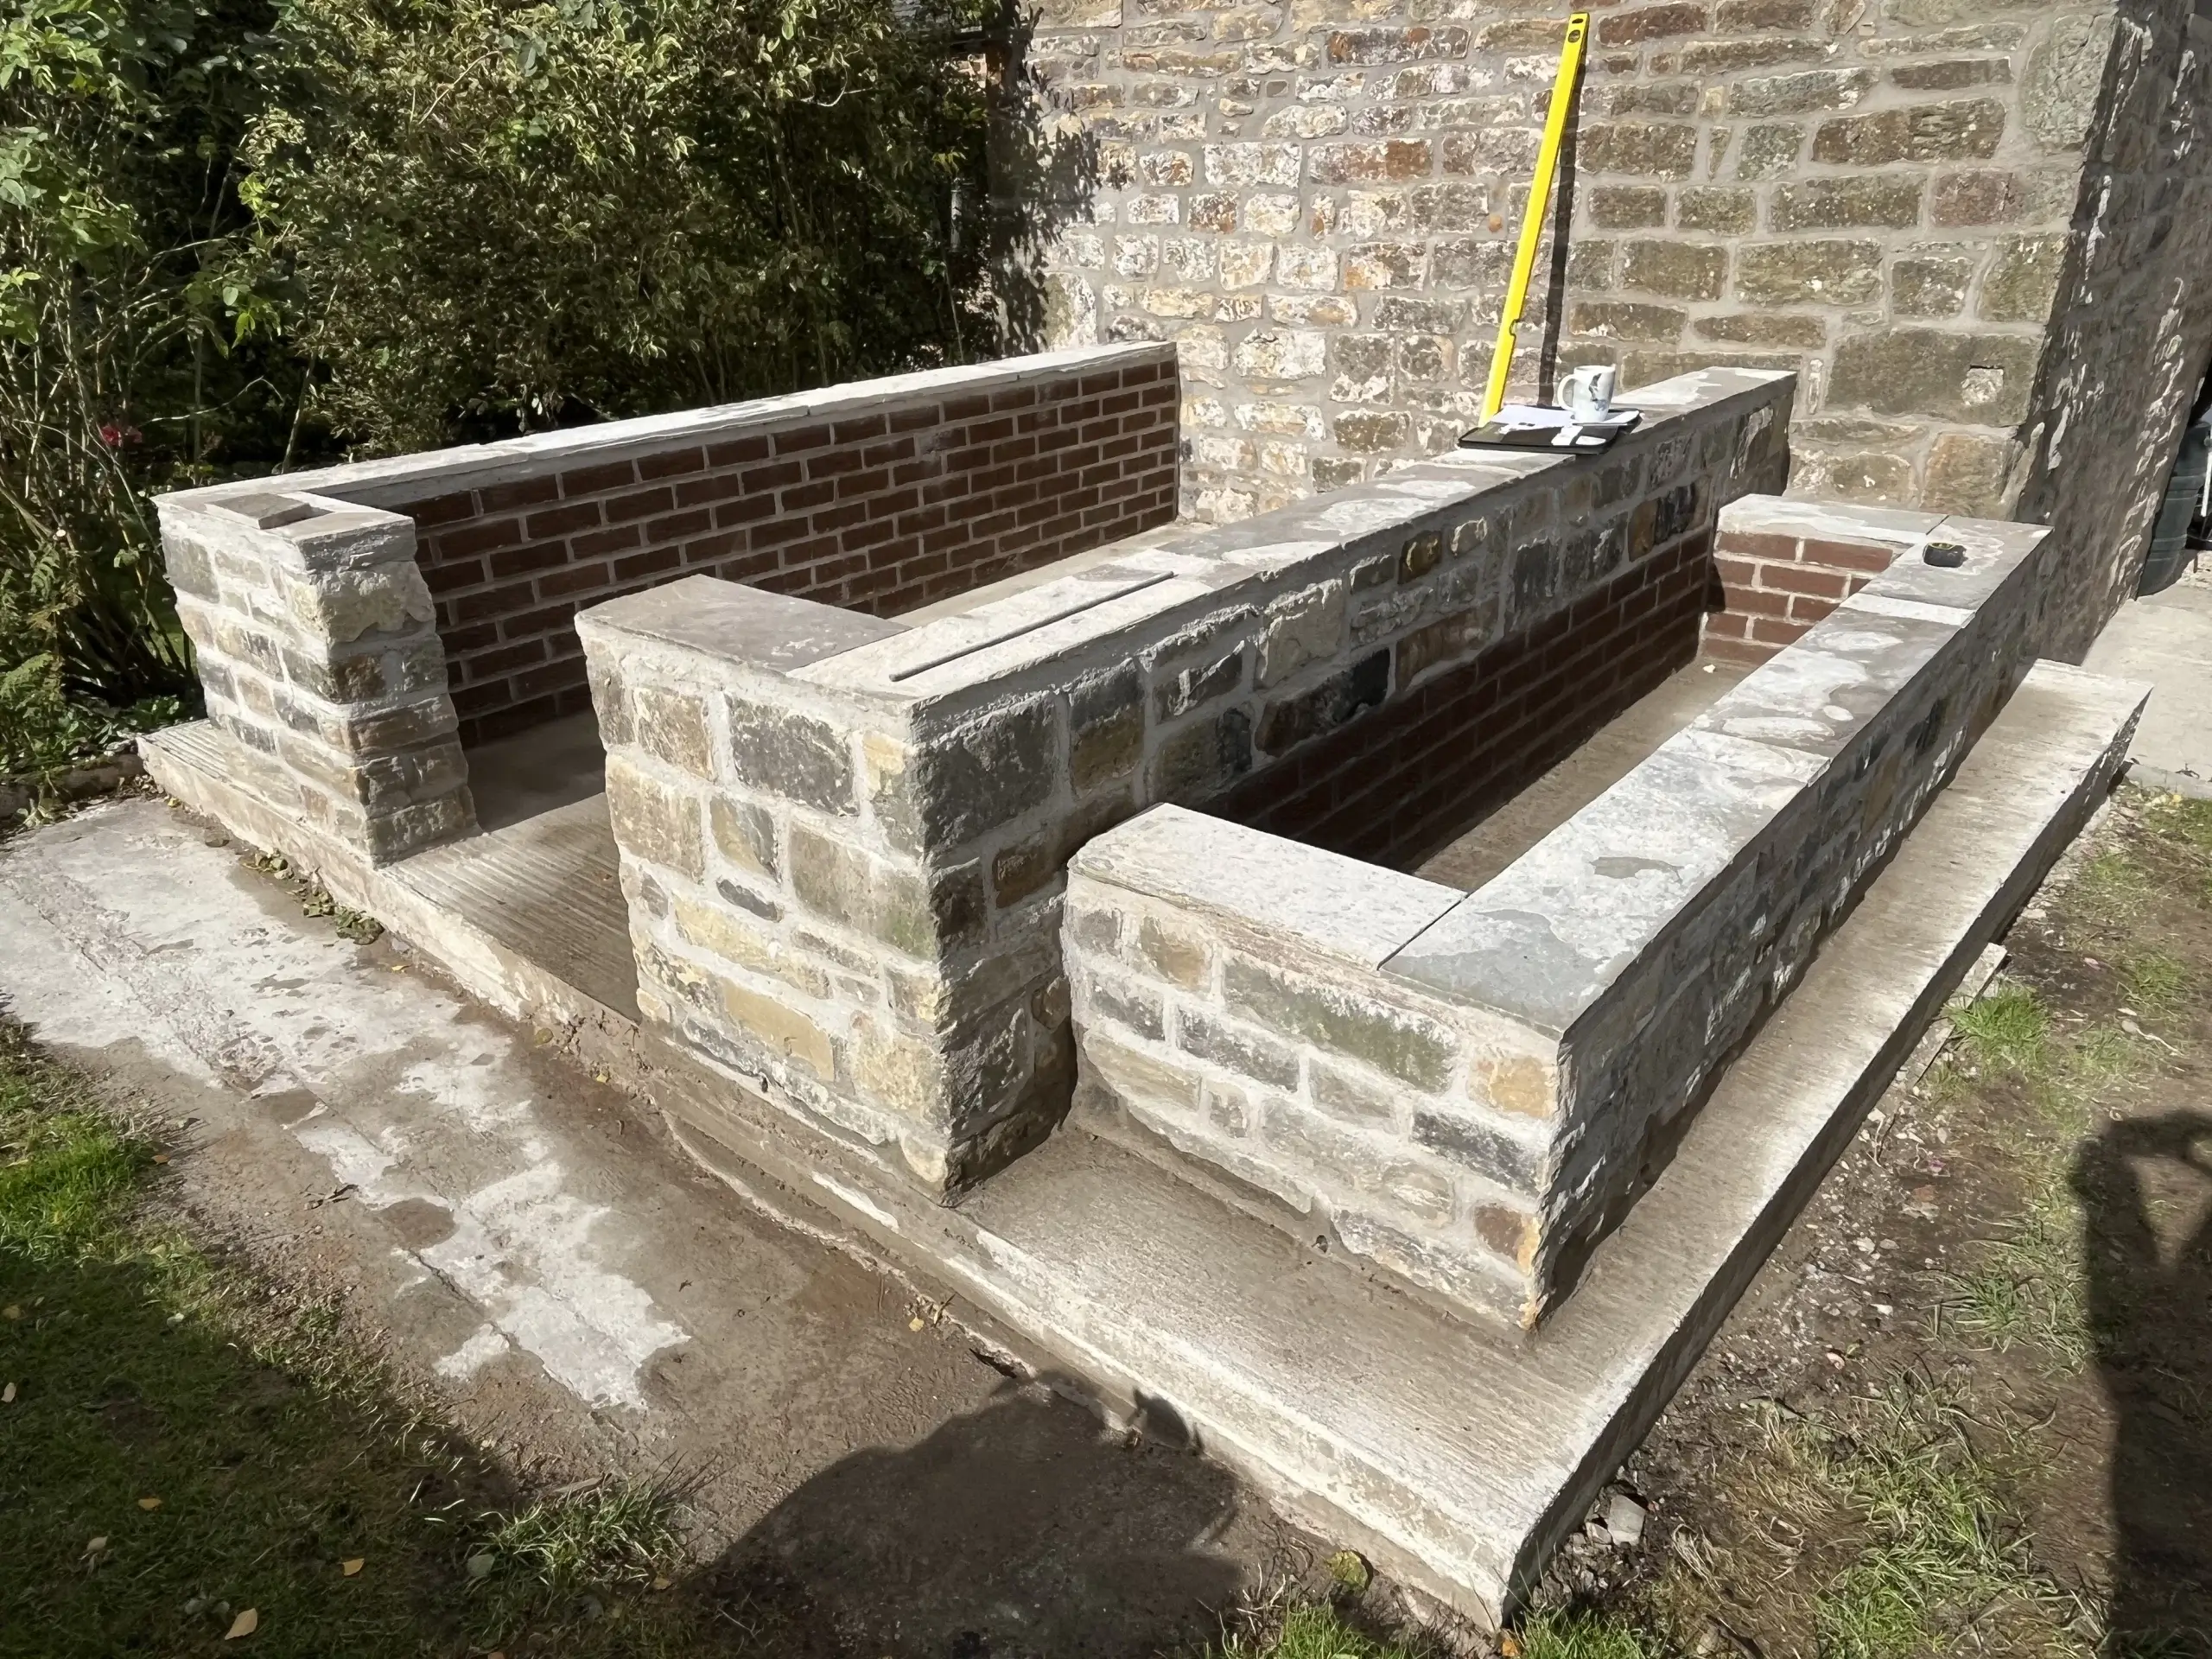
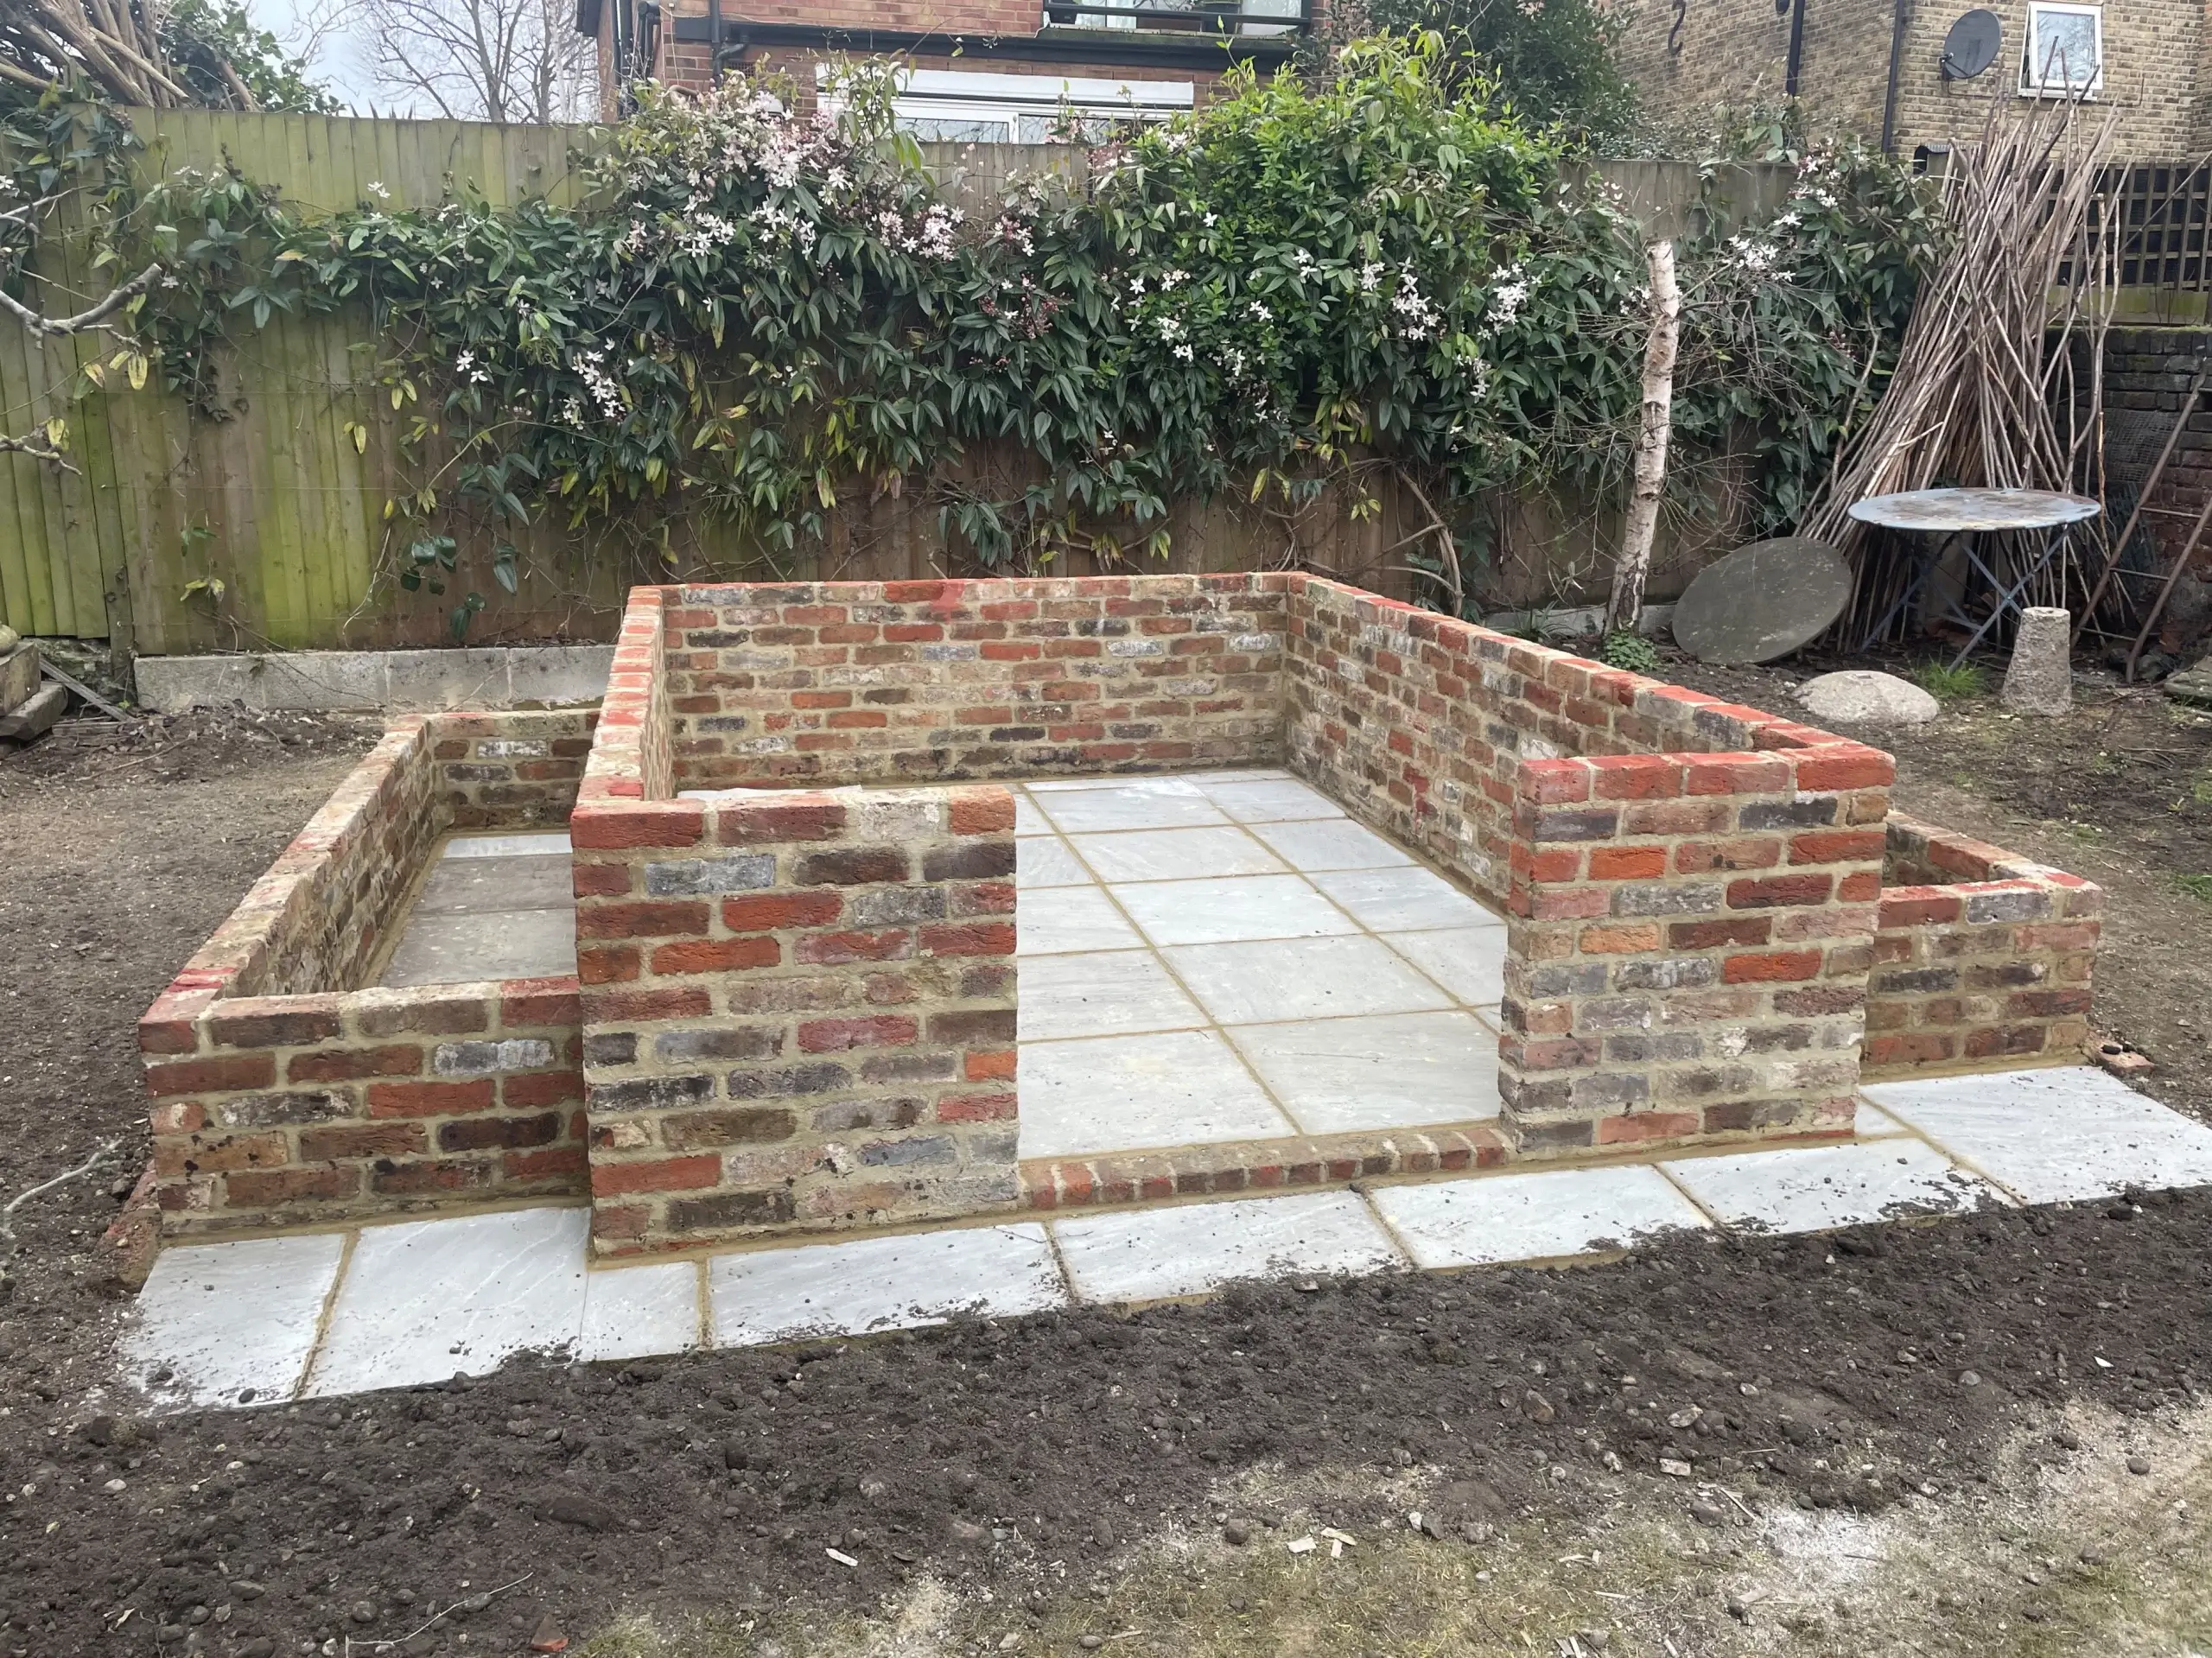
Above left: Reclaimed sandstone ties the greenhouse base in with this Derbyshire cottage. Above centre: A straight edged coping stone laid flush with the face of the wall gives a nice, neat finish that the greenhouse can easily be fixed down onto and leaves a useful deep ledge internally. Above right: reclaimed bricks sit comfortably alongside the London stock bricks of this south London borough.
Internal floor
The options range from open ground to concrete, gravel, paving slabs, tiles or bricks. A solid floor will be essential anywhere where you want to have staging or any kind of work bench, but it doesn’t have to extend all the way through the greenhouse. Open ground, or raised beds, can be incorporated in other areas so it’s important to consider how you will use the space and what you intend to grow. For tomato growers, having some full height growing zones will be important, but unnecessary in an alpine house, for example.
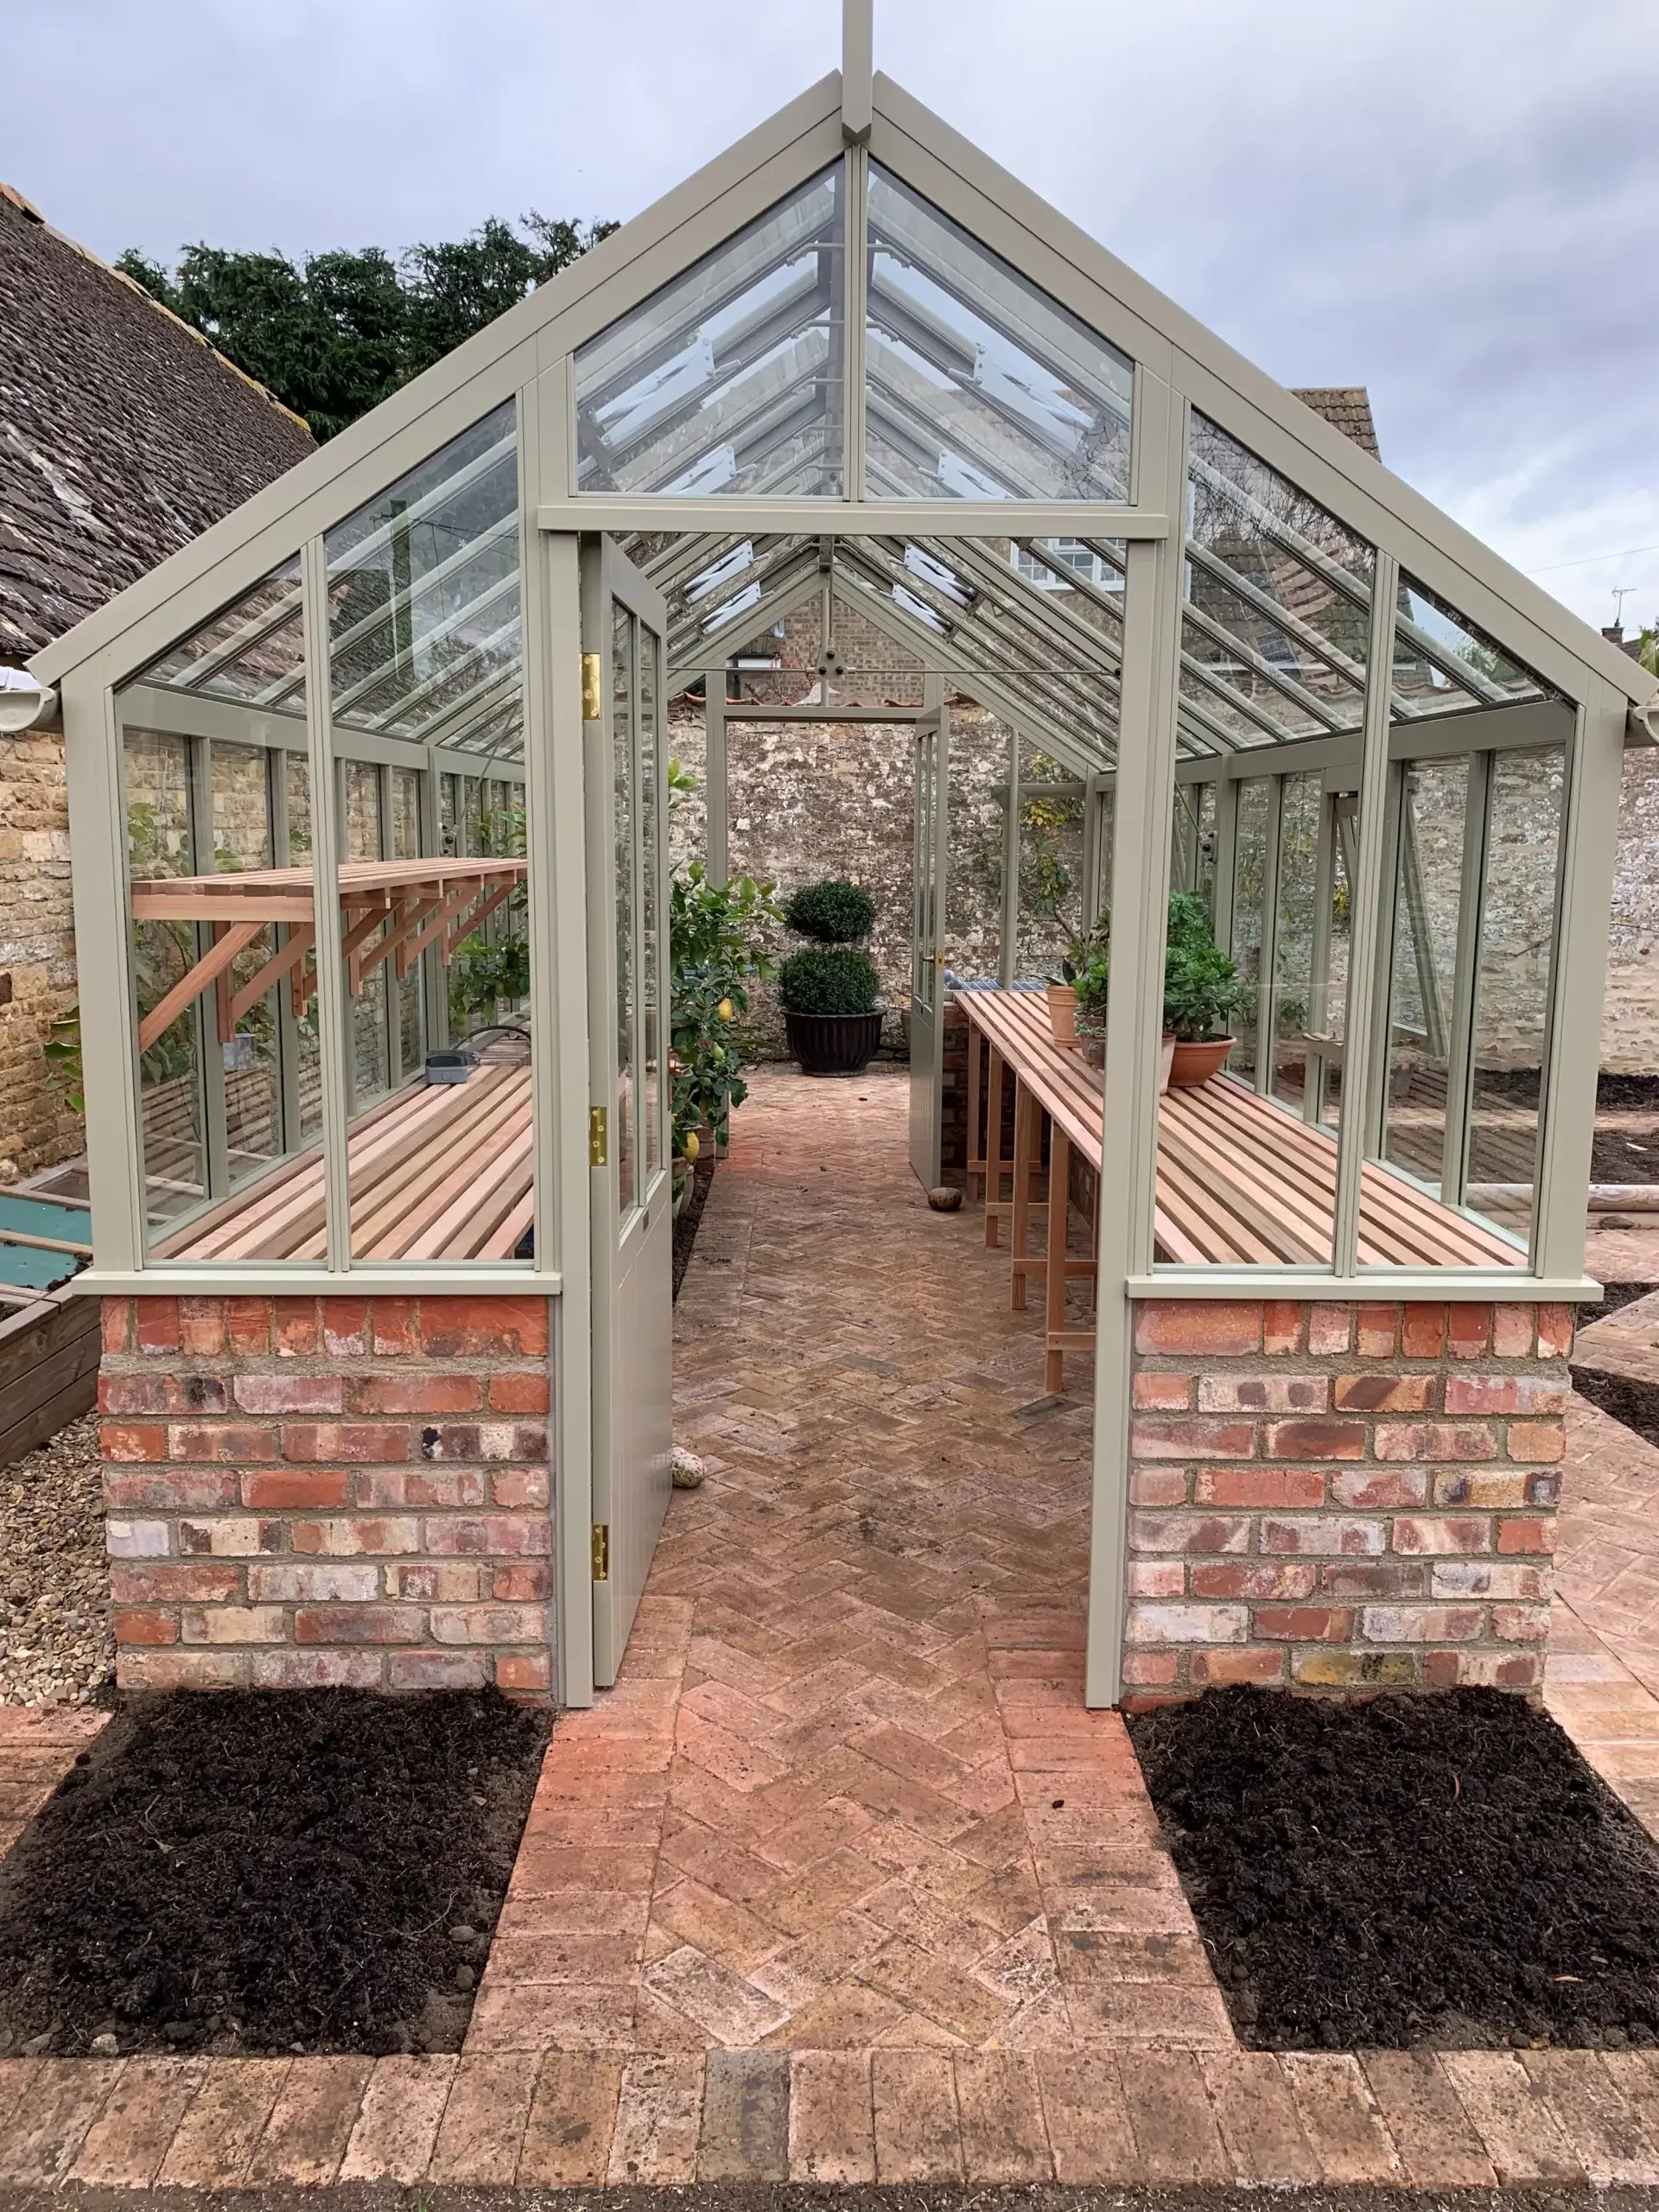
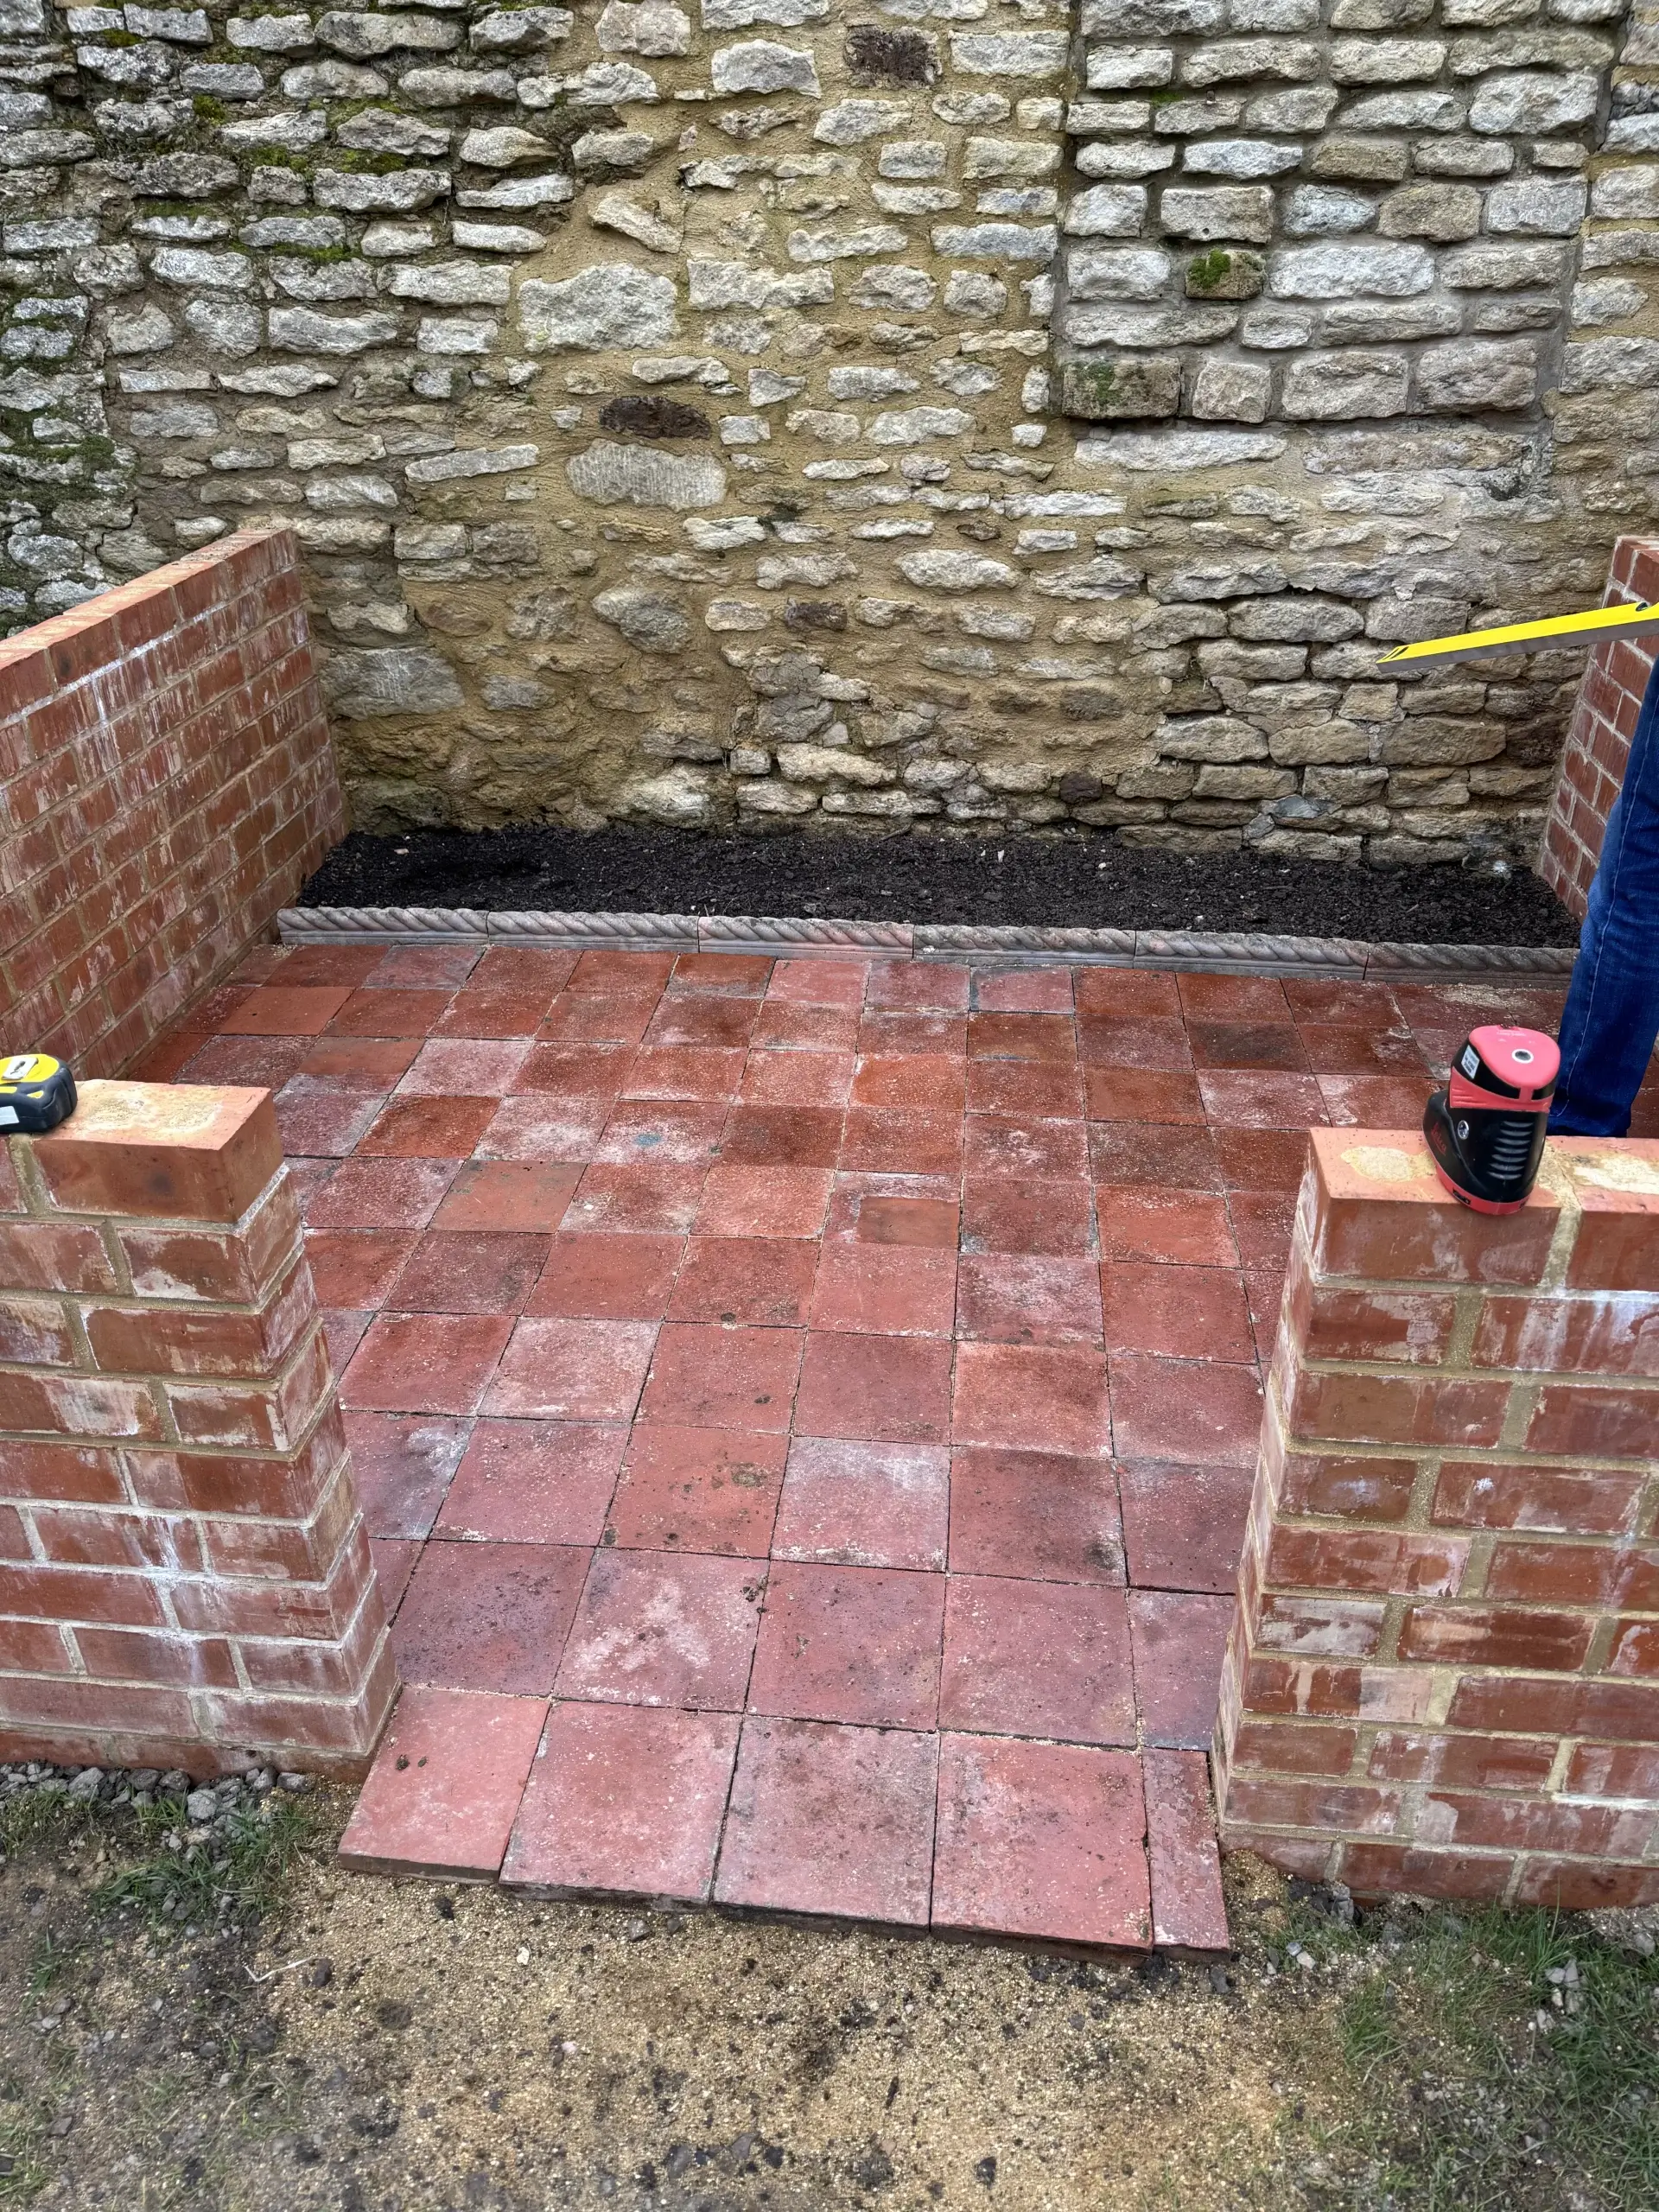
Above left: An Arley with a herringbone brick floor. Above right: Reclaimed quarry tiles meet a rope edged open bed in this Croft base.
It’s worth noting that our staging is designed to sit on top of the dwarf wall, ensuring a really solid working area capable of supporting heavy from recently watered plants. The legs need to land on a solid/flat surface that will not erode over time so, whilst it’s not necessary to have a full solid floor all the way underneath, and gravel will absorb watering can run off, you will need to make some provision for where the legs will land. We can provide a diagram for your builder to follow.
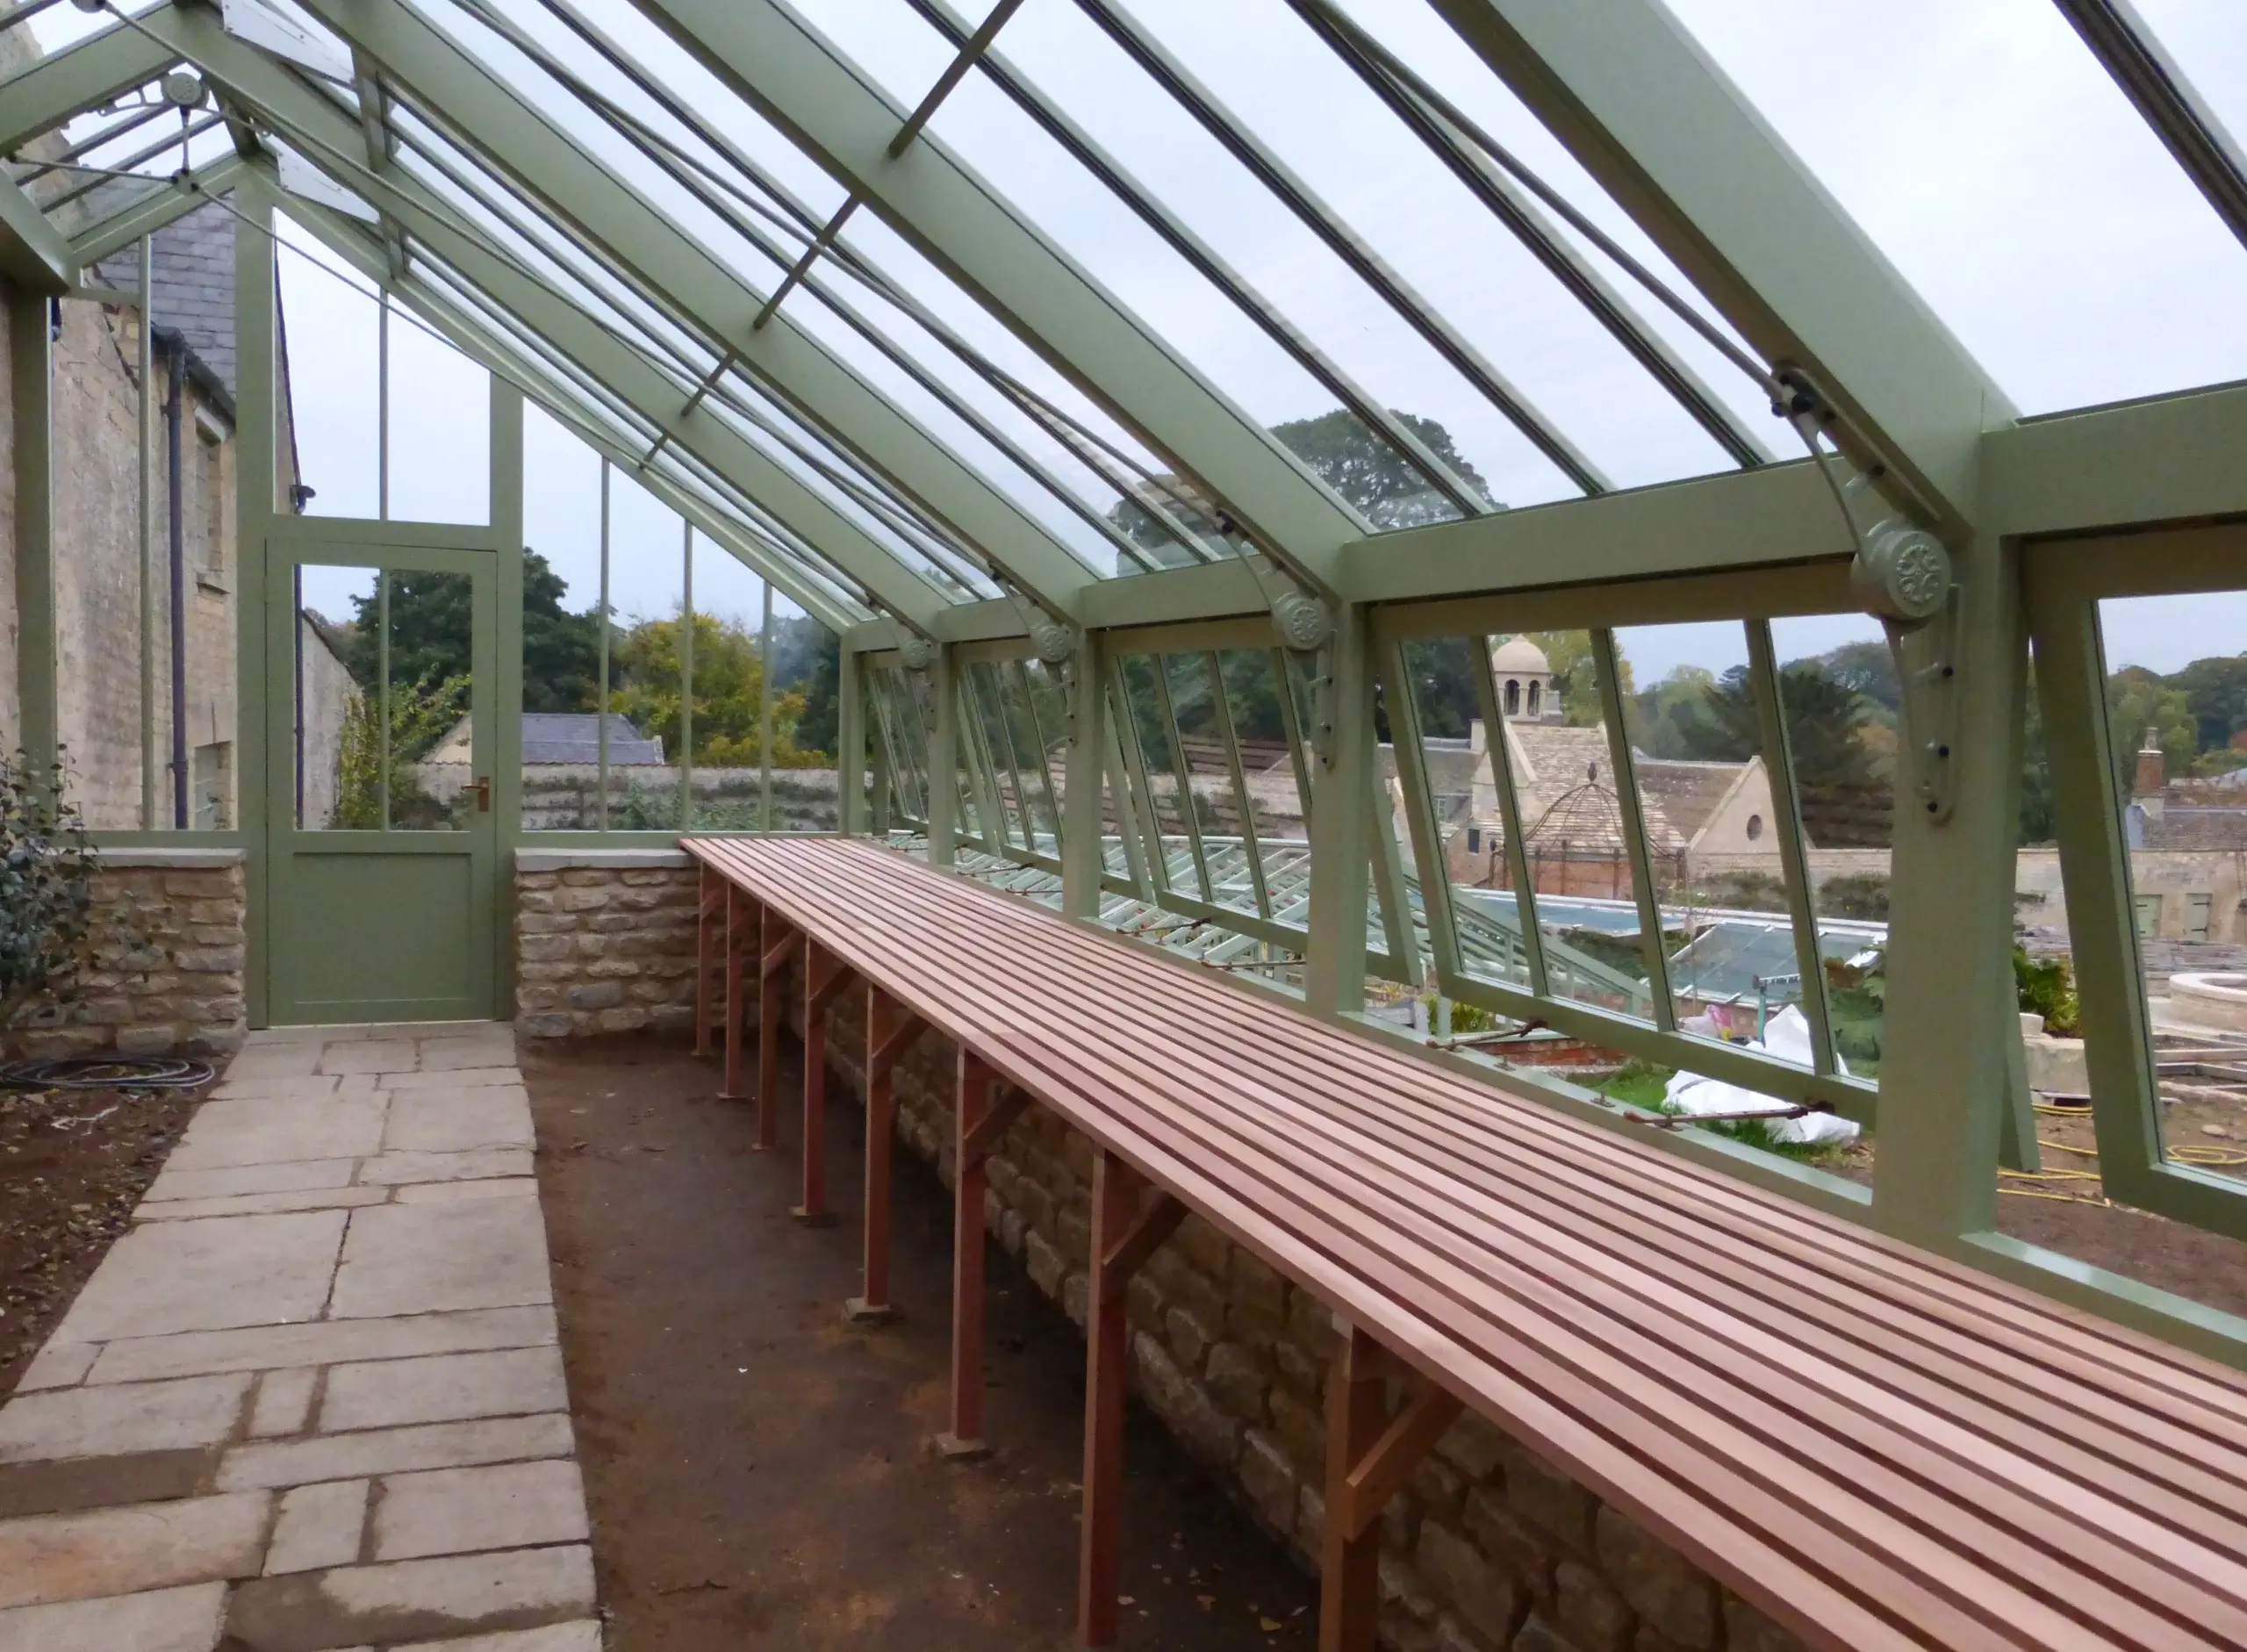
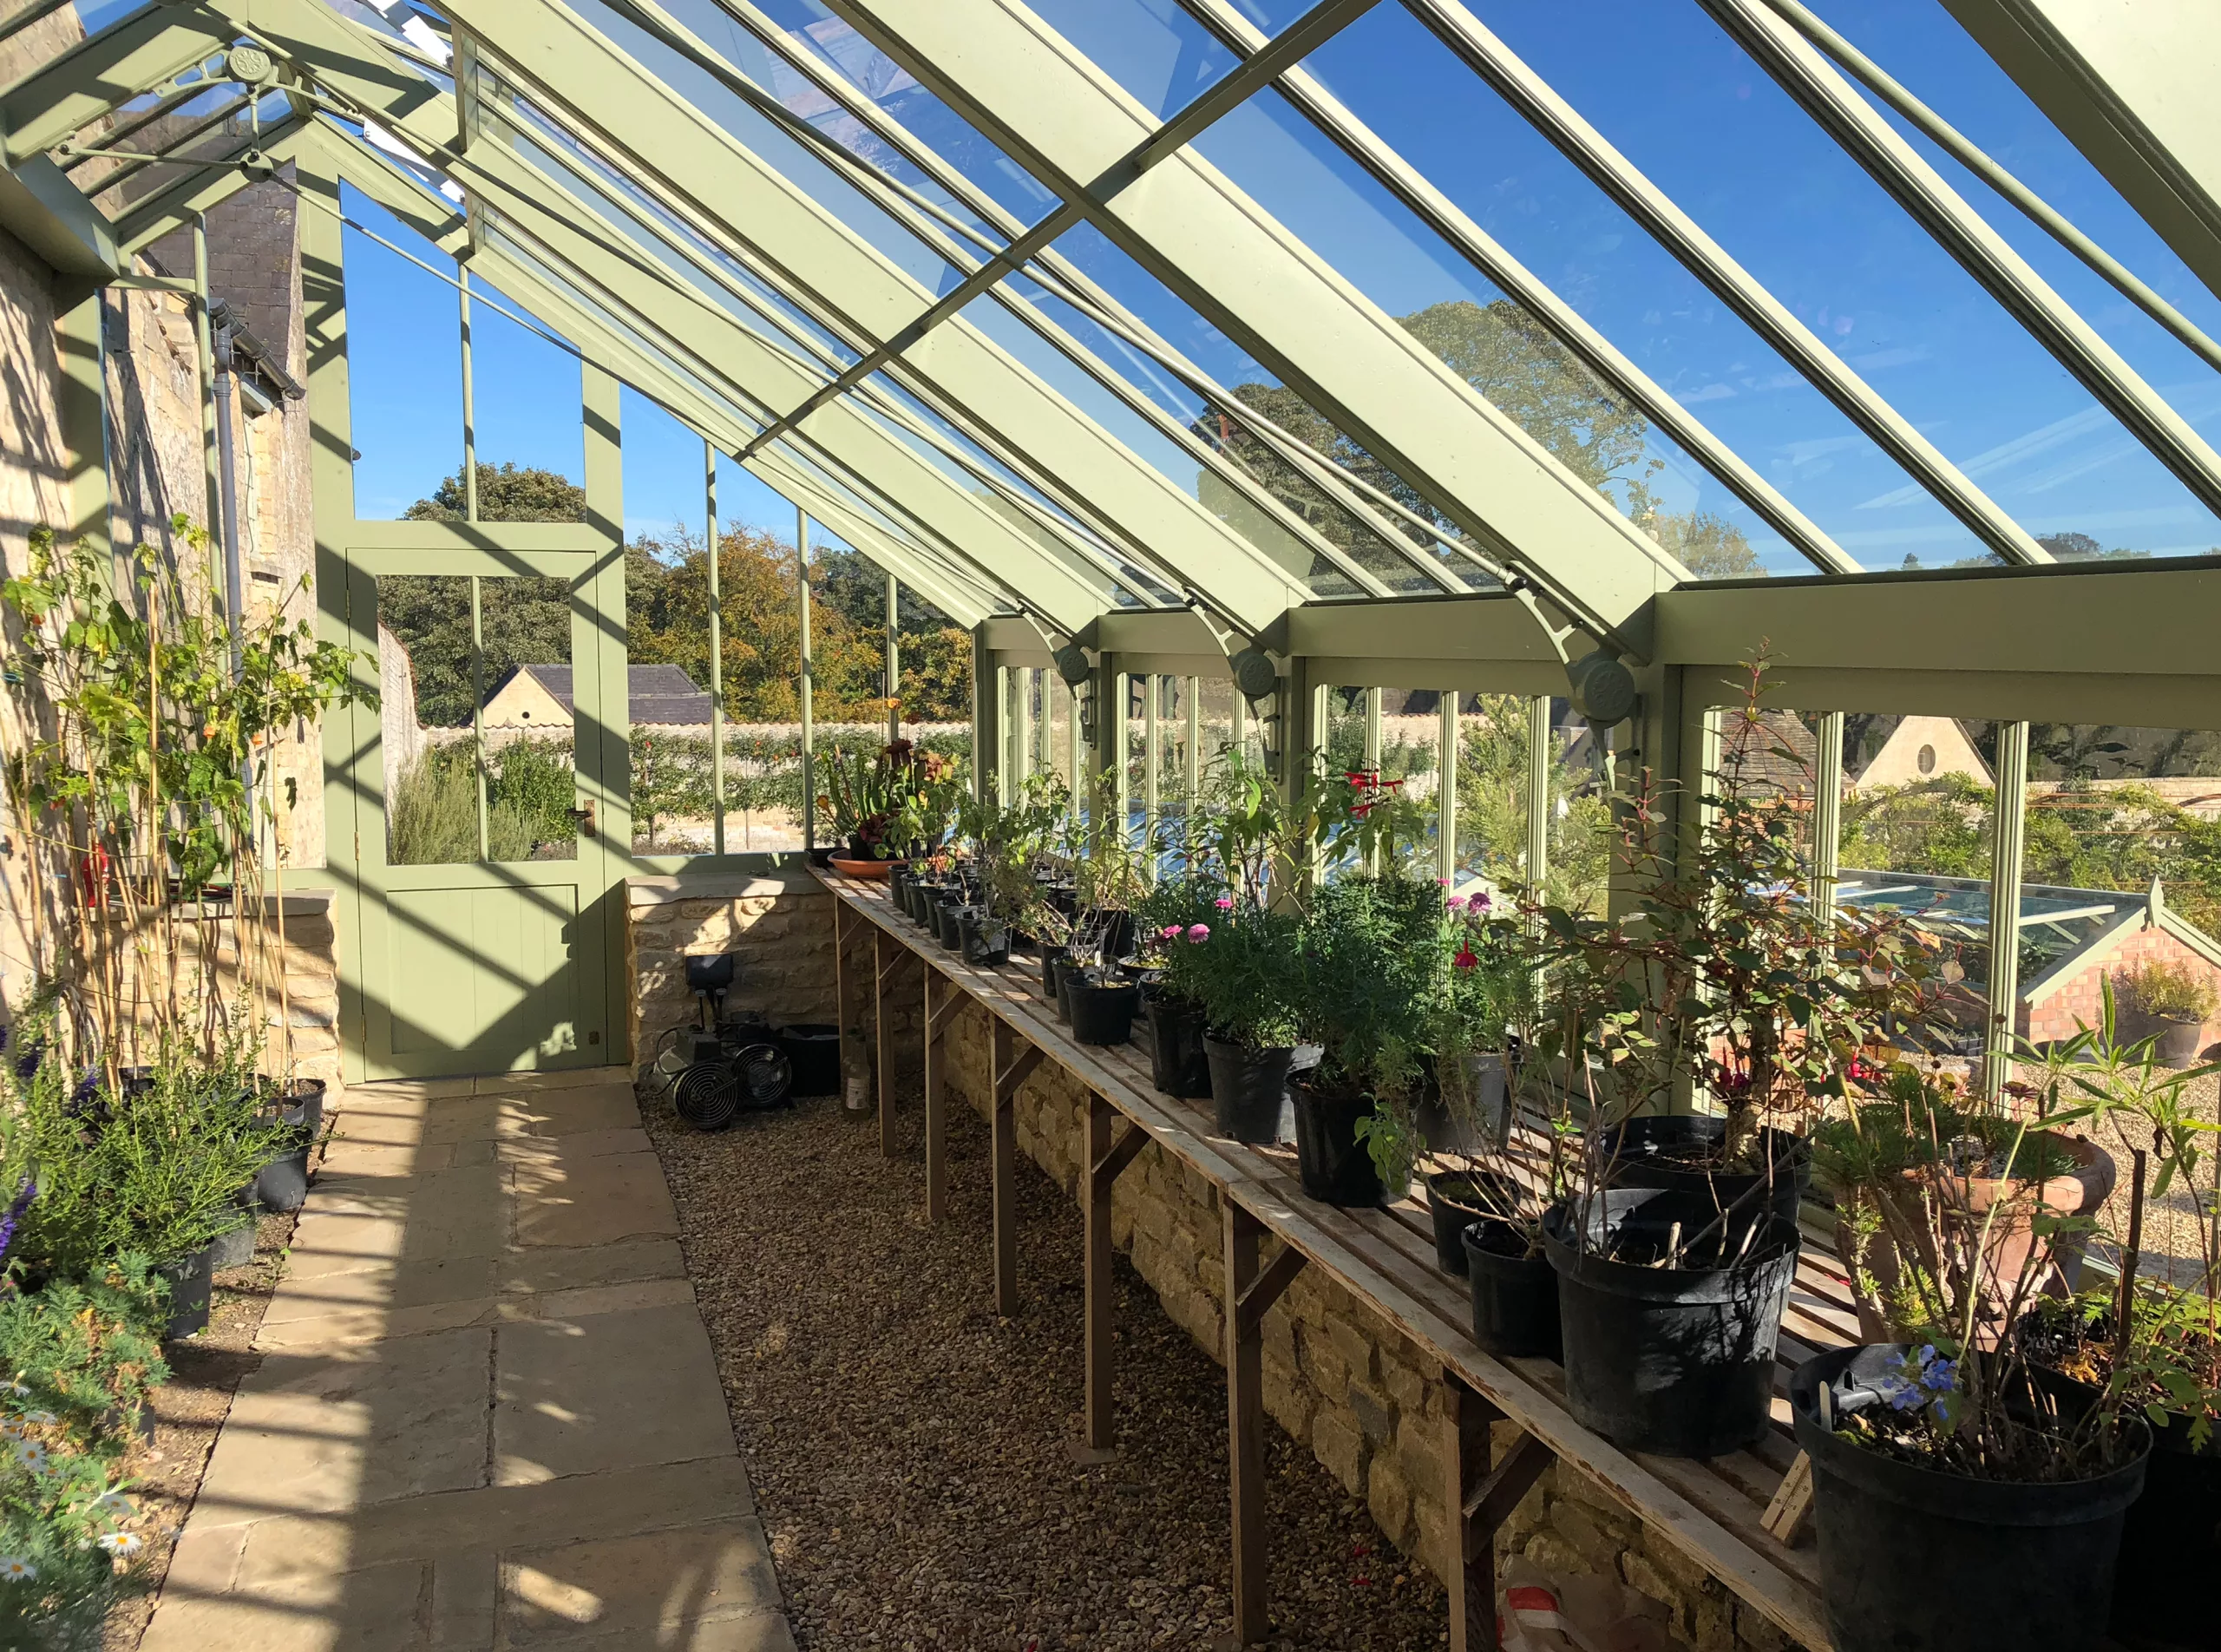
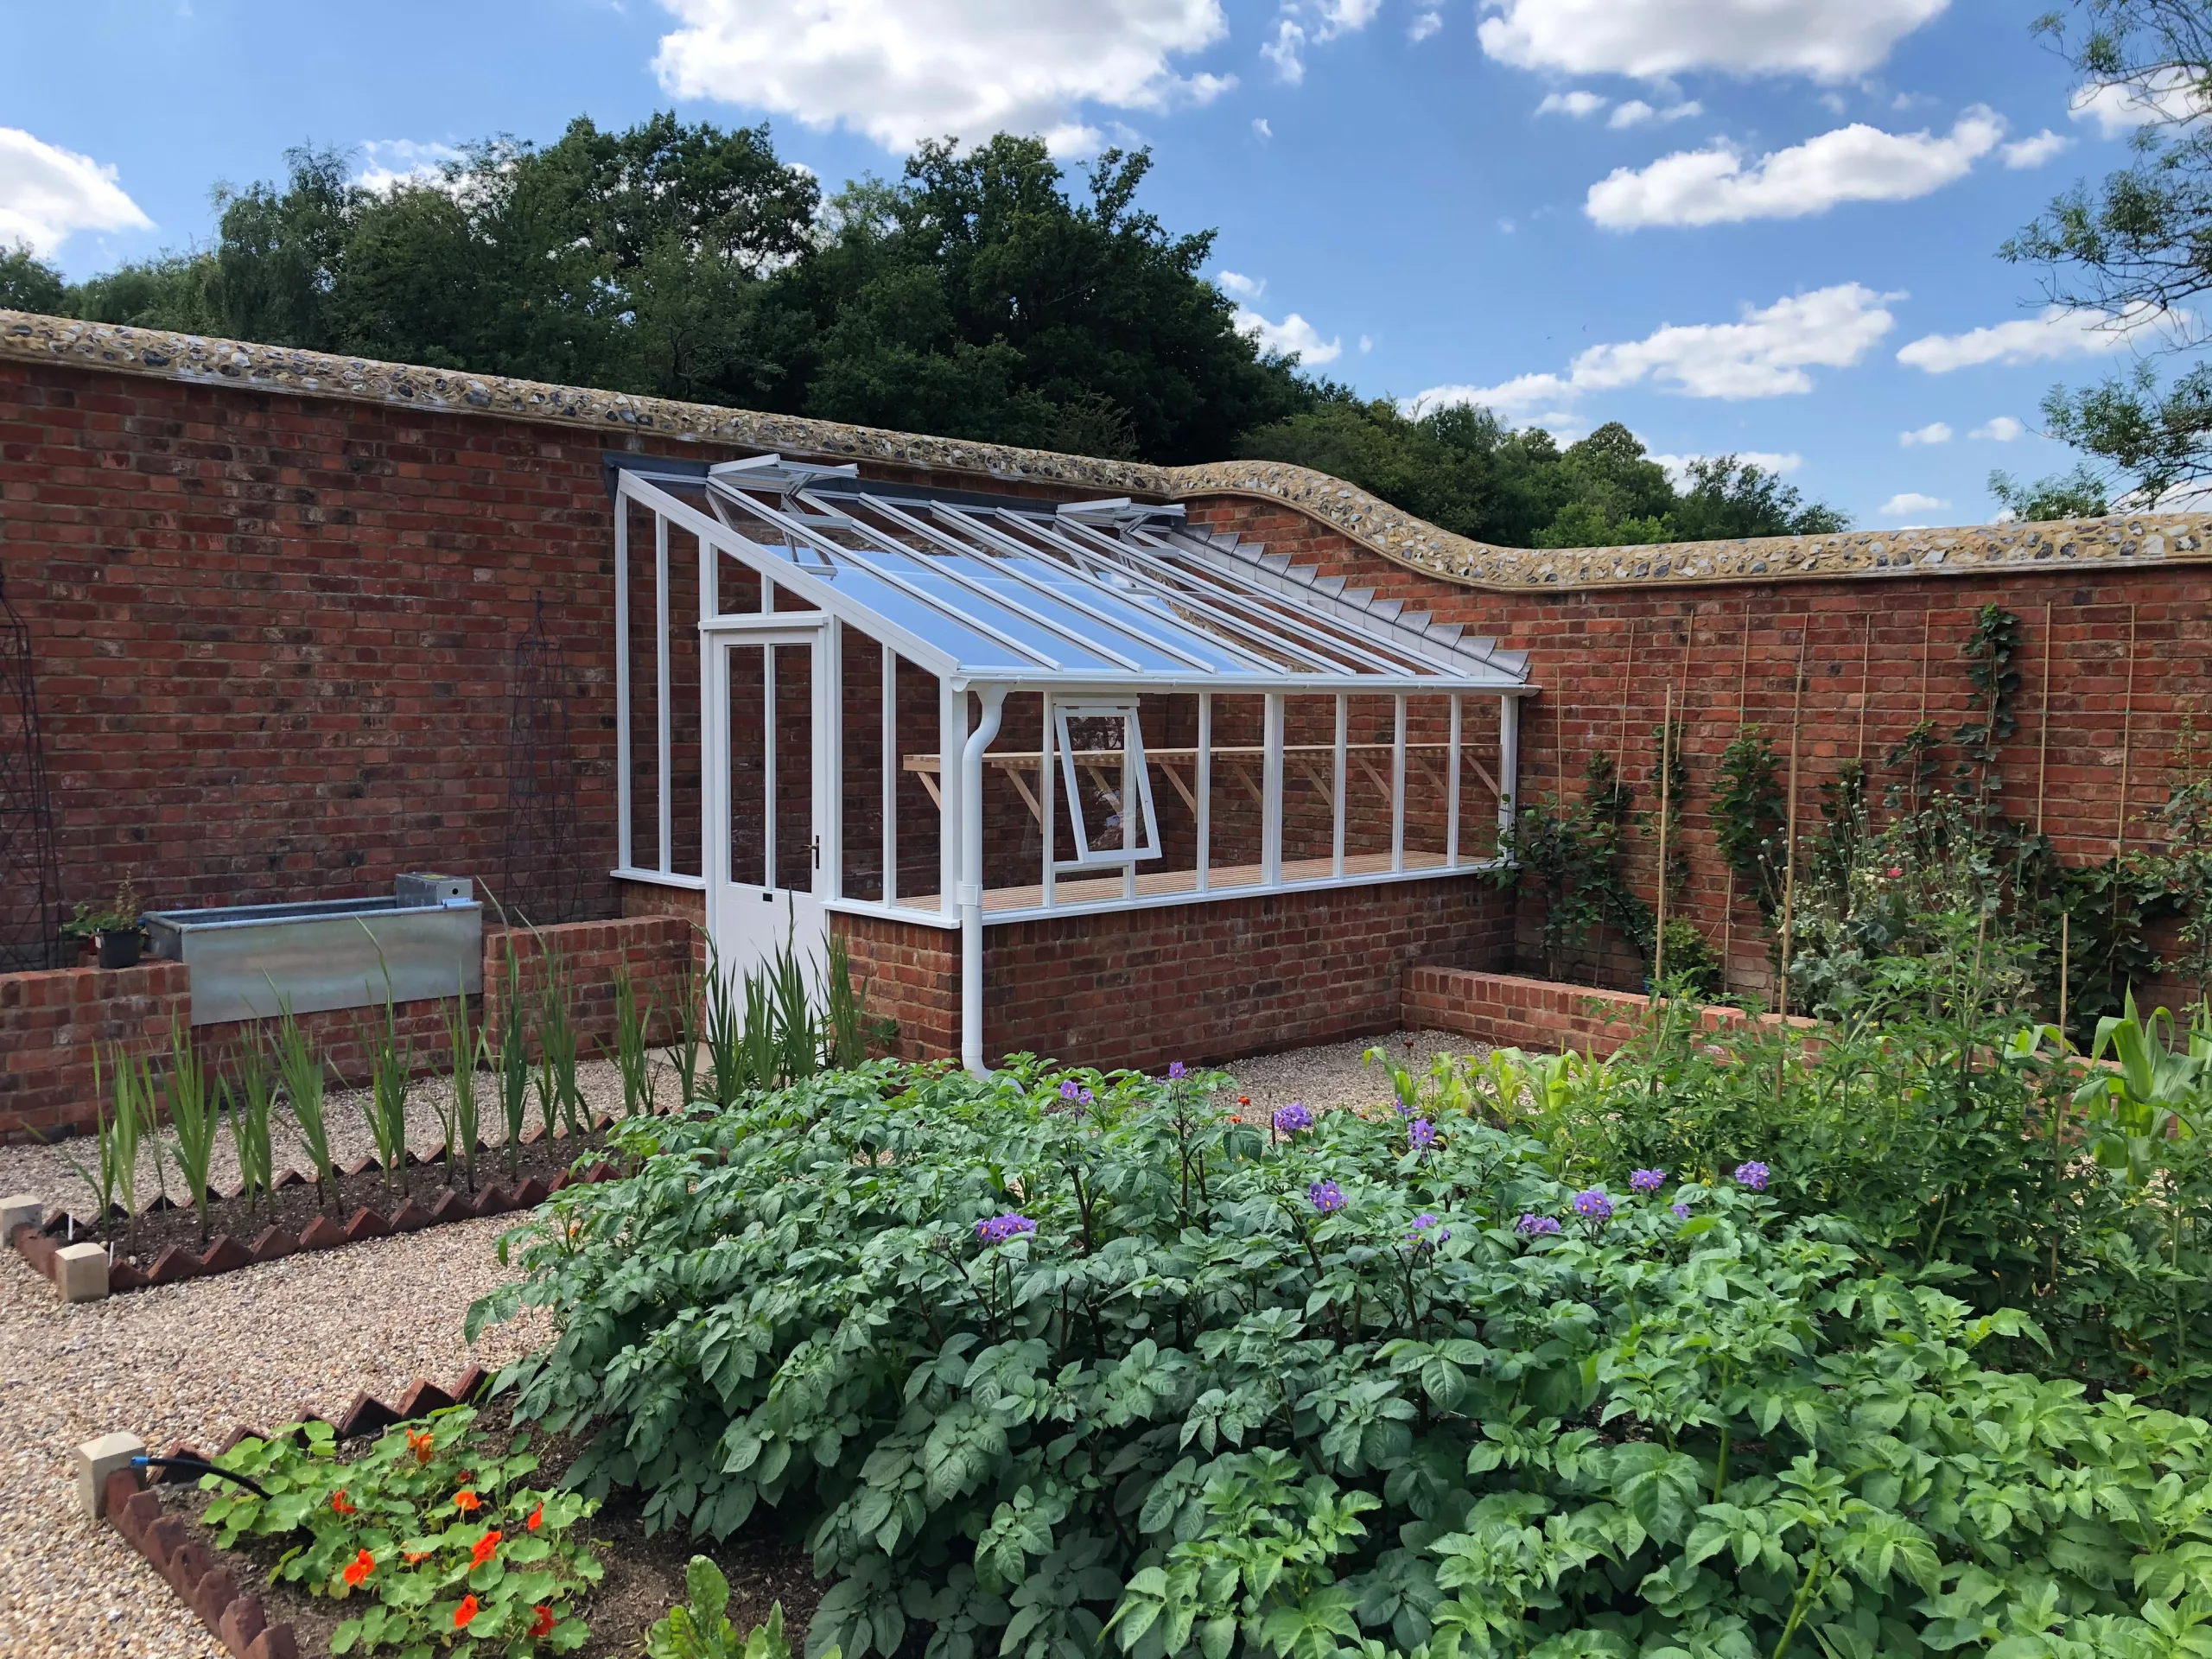
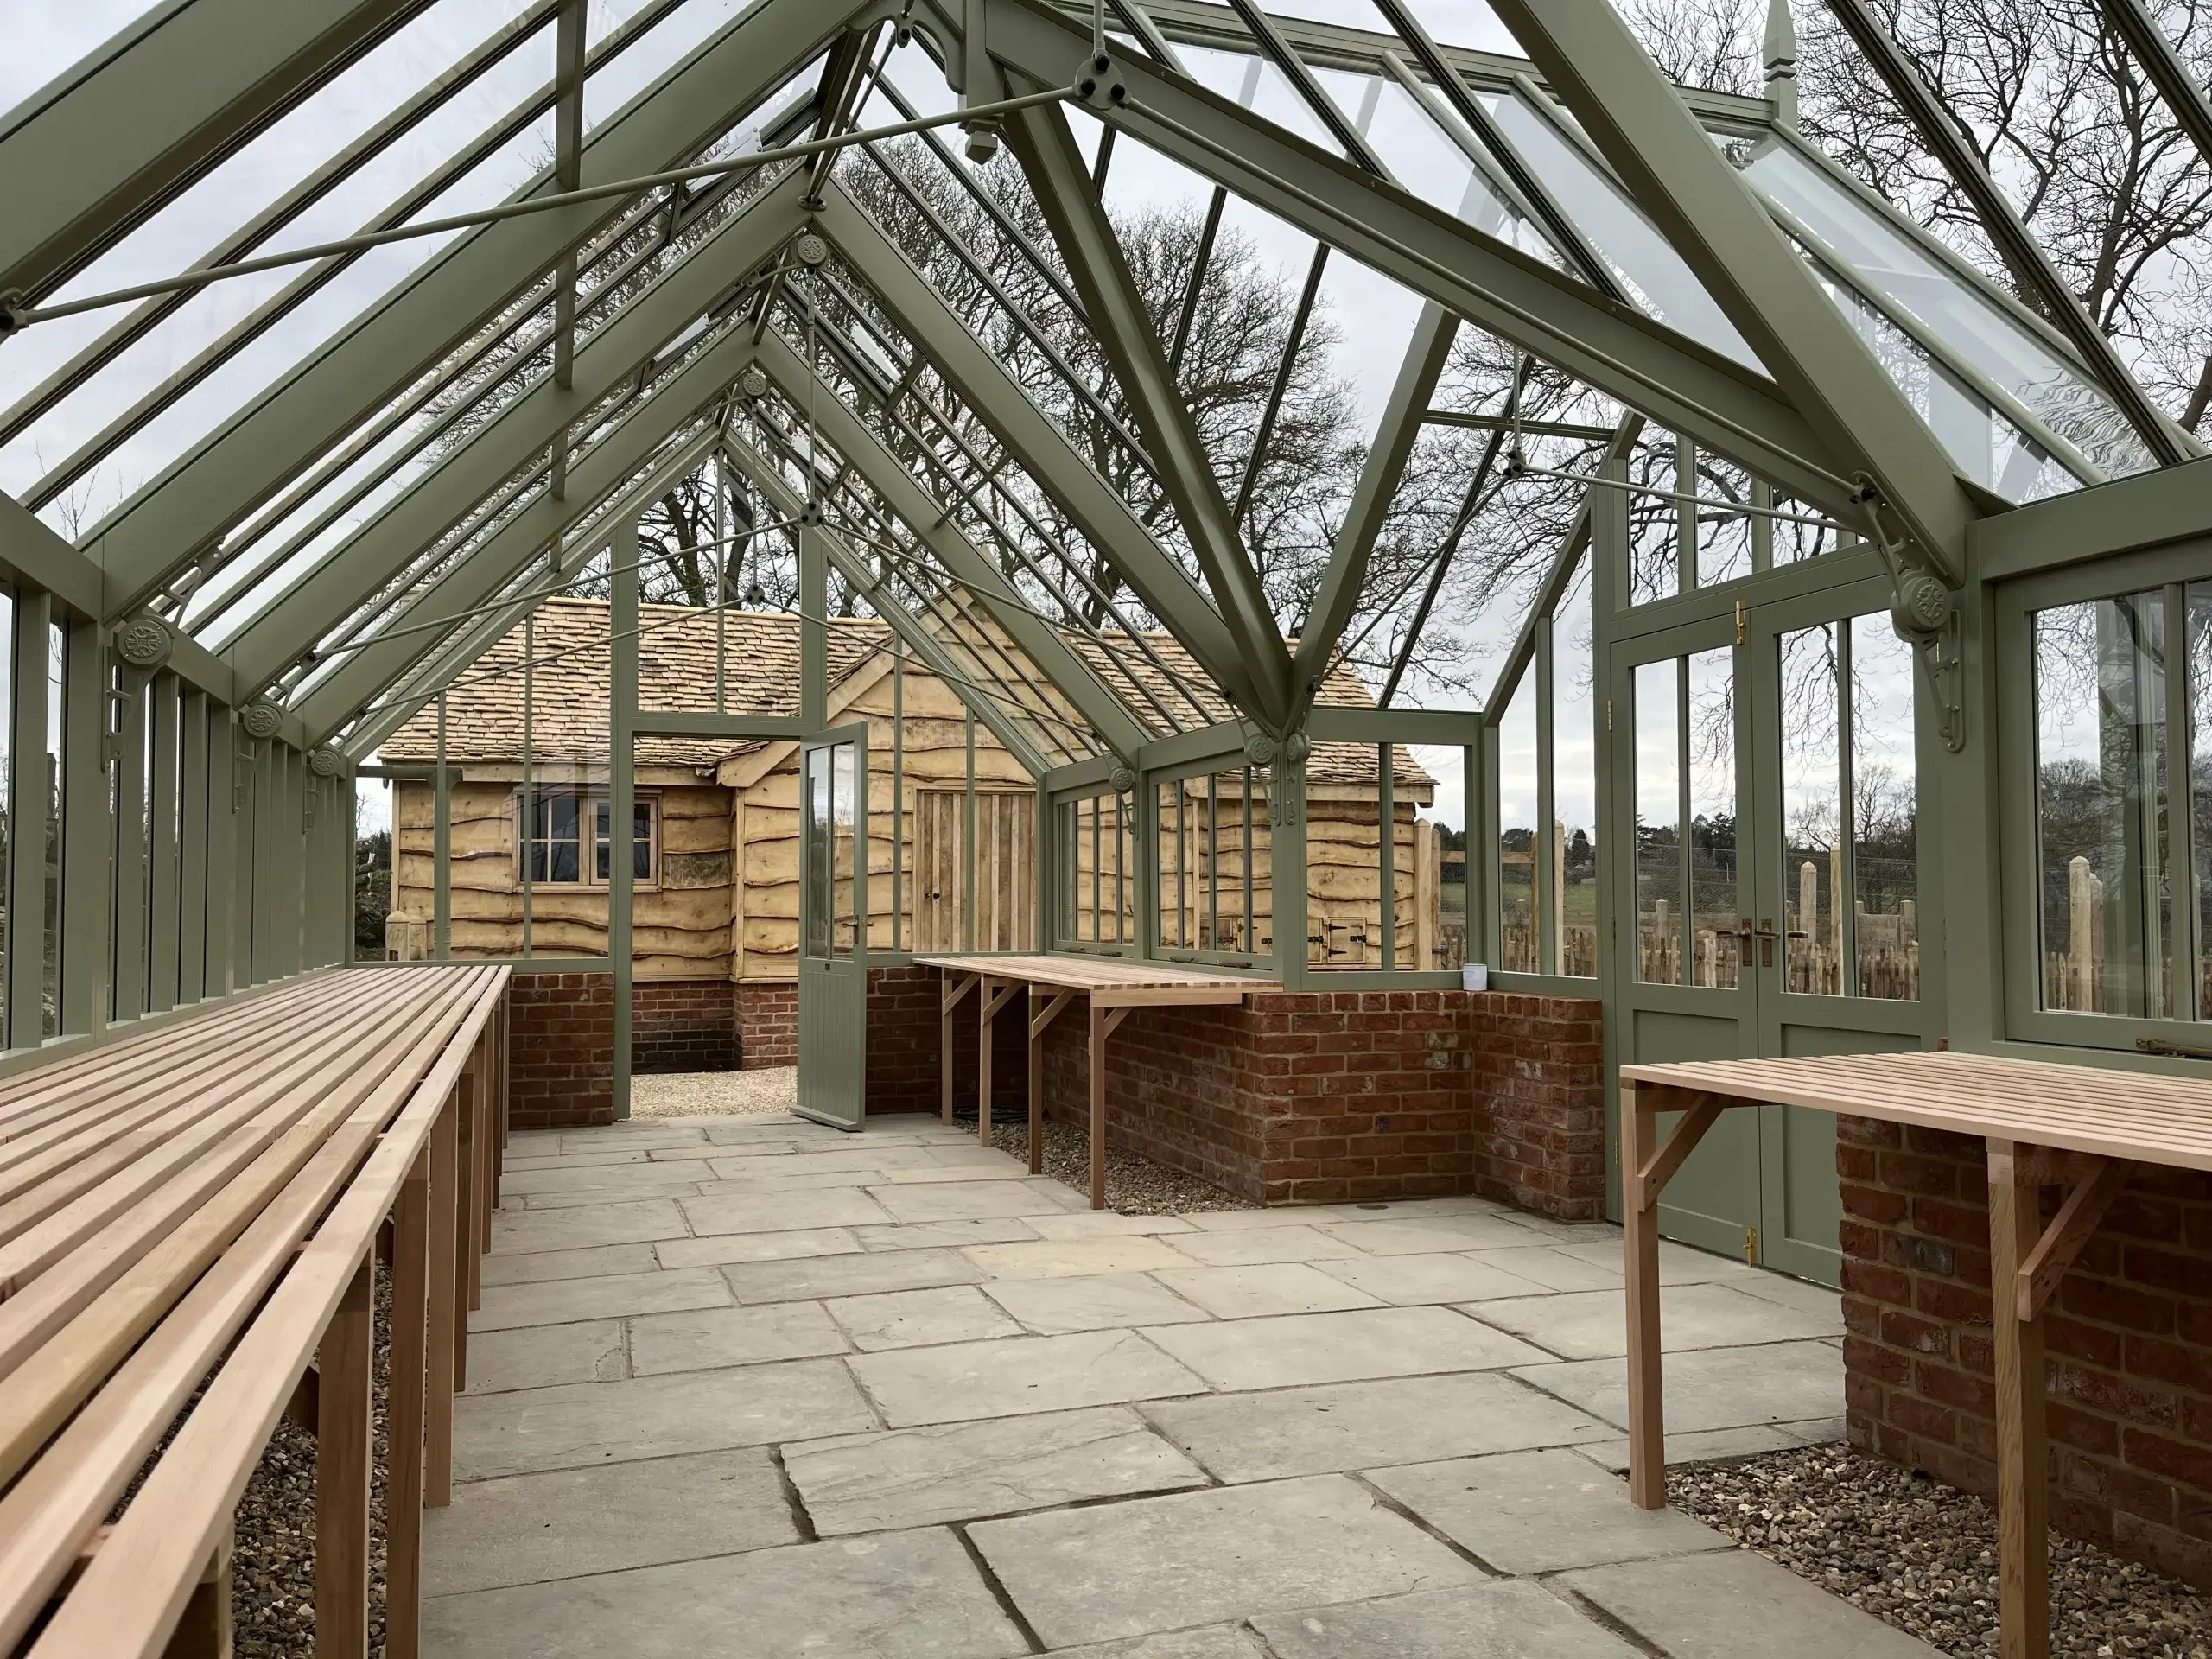
Above: The internal floor in this Victorian three-quarter span greenhouse combines open ground for full height growing against the back wall with a gravelled area under the staging, to allow for drainage when watering, and a paved central path. Above left: shows how the floor under the staging has been prepared with solid landing areas for the staging legs which are then covered with the gravel (Above right).
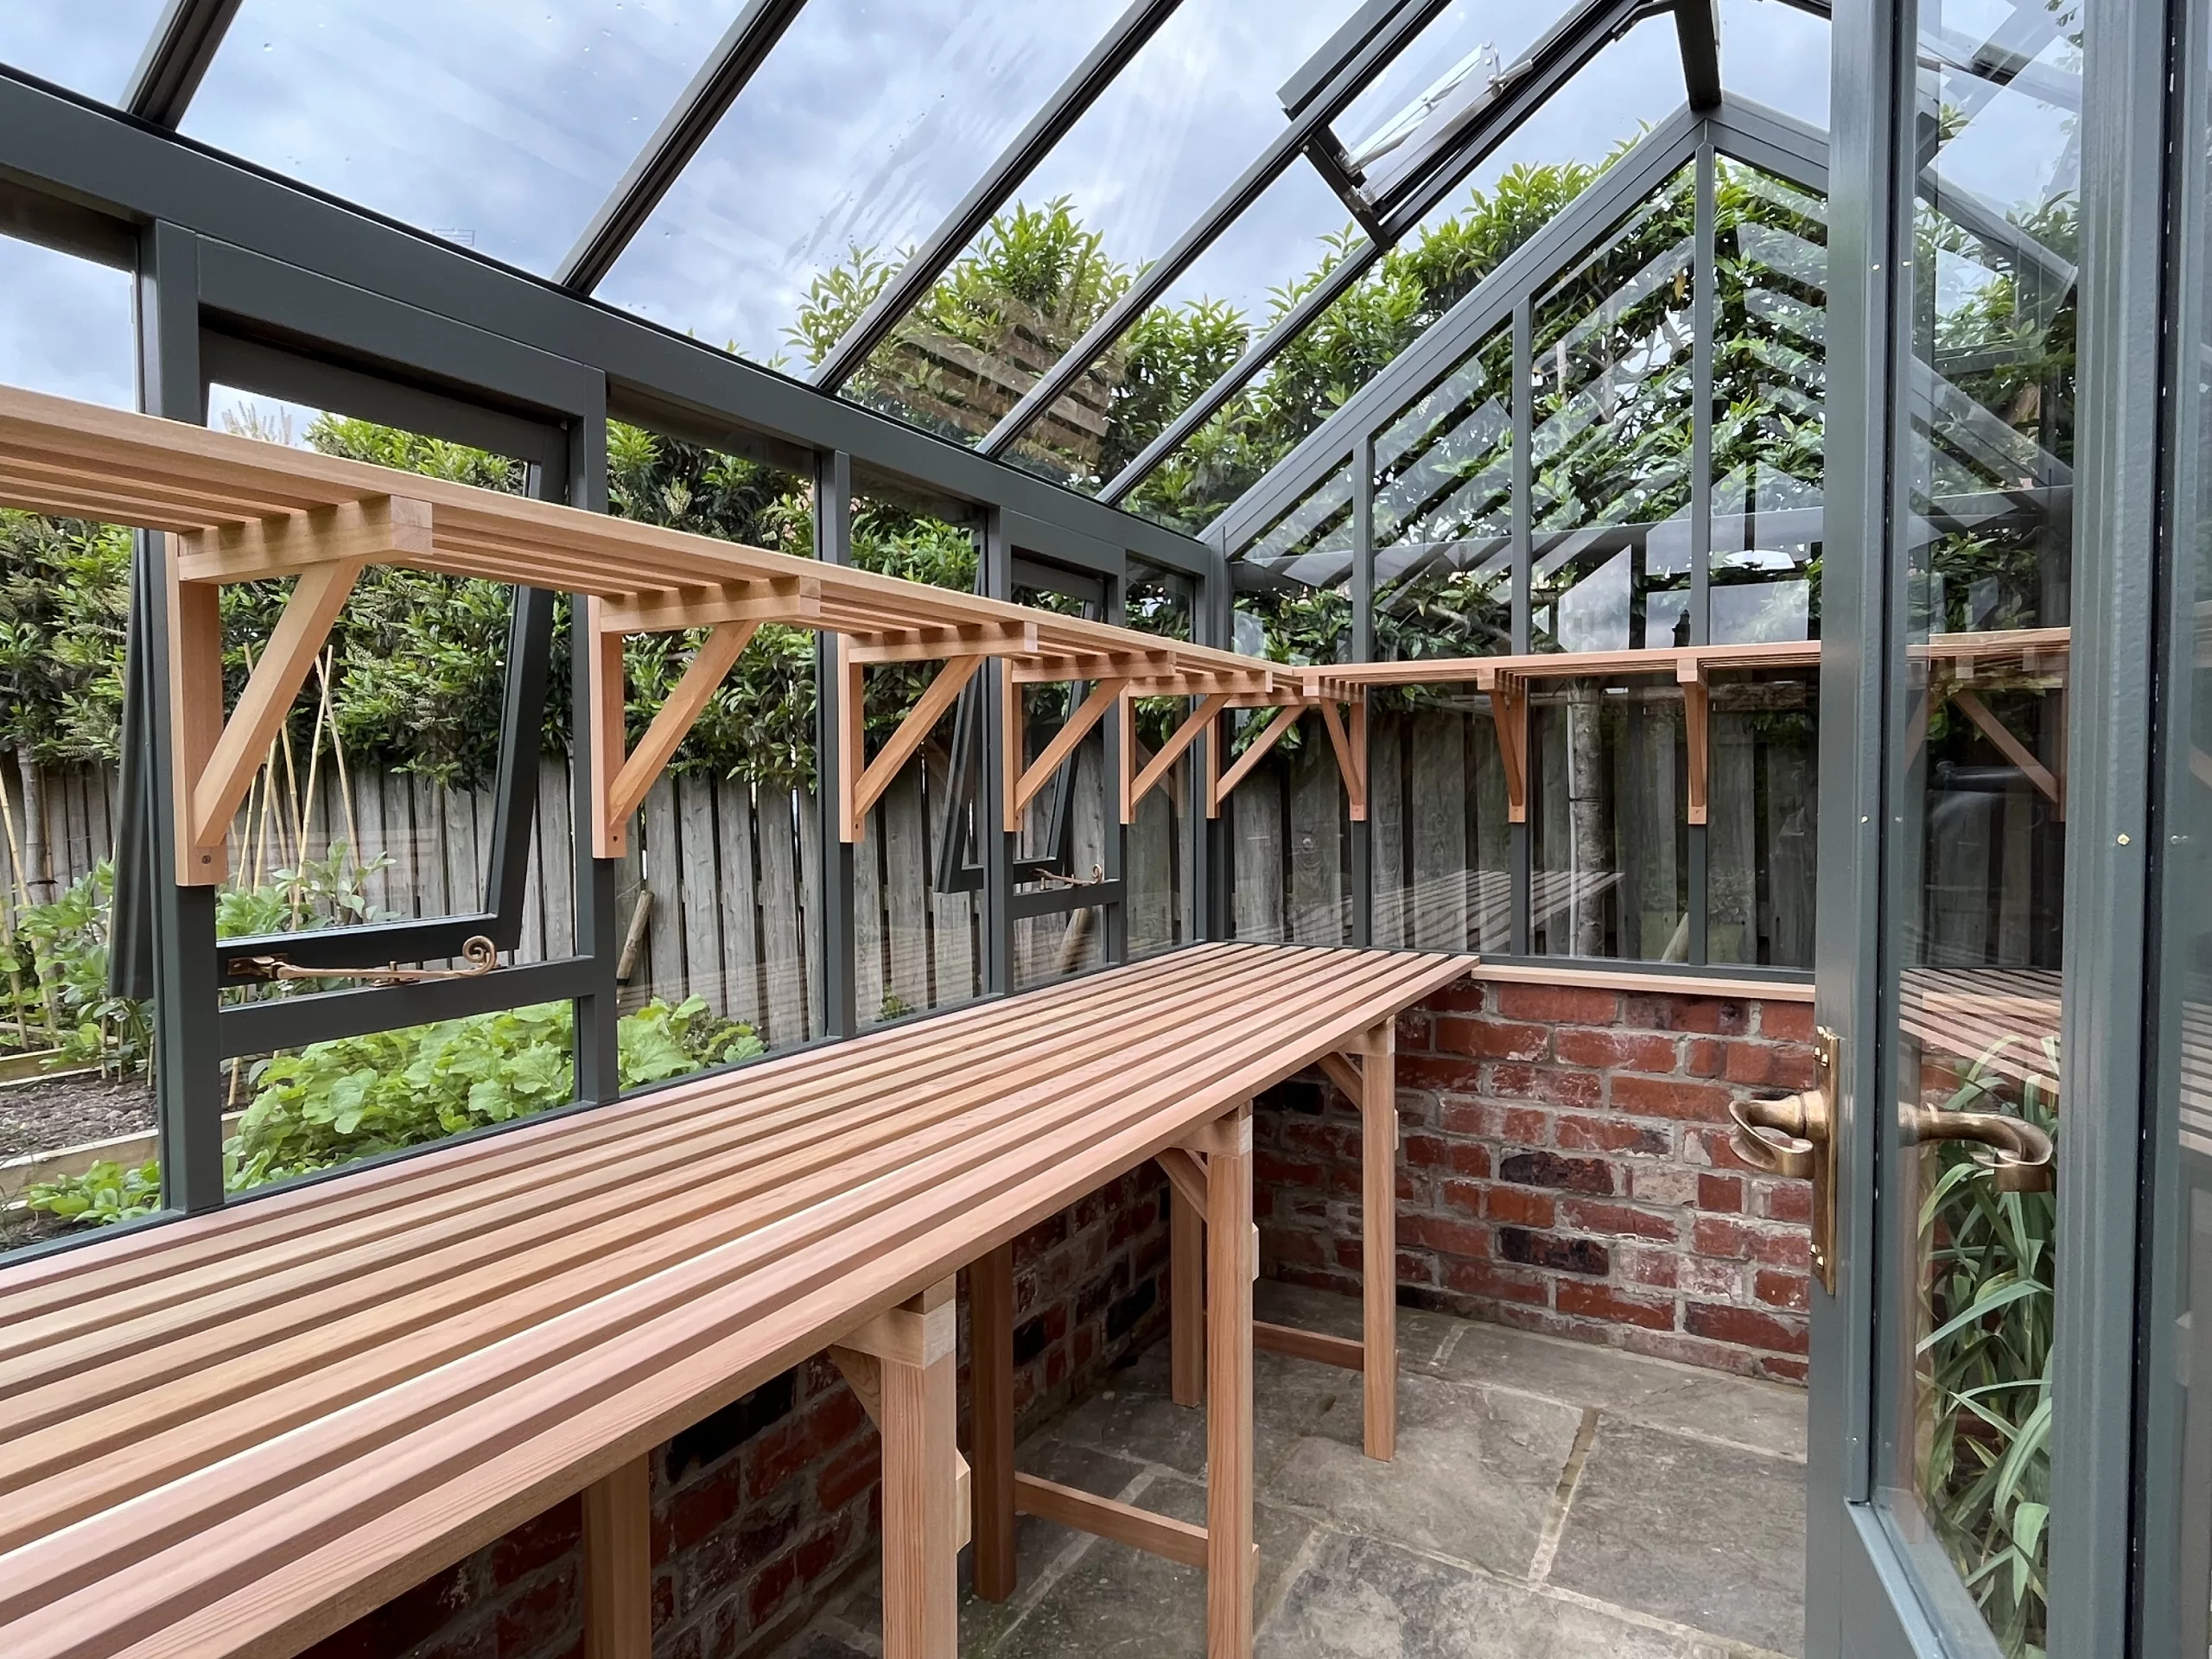
Above left: A reclaimed brick single skin wall supports staging down one side. A cedar window board finishes off the areas of wall not covered by the staging. The greenhouse is paved throughout. Above right: Stone paving finishes just behind the supporting legs of the staging with the rest left to gravel to allow for drainage.
In our final installment, we’ll talk about the accessories that are available to make your gardening easier and enjoyment of your greenhouse greater.
Comments
This article doesn't have any comments yet.